This is a start-to-finish walkthrough of setting up a custom business email address, like [email protected], with GoDaddy's Microsoft 365 Email Essentials. Our founder Tim Bramlett recorded it while setting up a real mailbox, so every screenshot below is from that setup.
It covers one step most setups miss: GoDaddy left DKIM turned off, so email from the new address could land in spam. Fixing it took one toggle.
Don't have a domain yet? Start with how to buy a domain on GoDaddy.
Watch the video
The video runs about 9 and a half minutes. Setup takes the first four; the spam check and DKIM fix start at 4:38. Everything in it is written out below.
The short answer
- Buy Microsoft 365 Email Essentials from GoDaddy (with your domain, or on its own).
- In your GoDaddy account, open Email, type the address you want and click Create New Email.
- Accept the Microsoft Customer Agreement, wait for setup to finish, then click Sign In and open Outlook.
- Send yourself a test email to make sure it arrives.
- Test SPF, DKIM and DMARC with our free SPF, DKIM and DMARC checker.
- If DKIM fails, go to the Microsoft Defender portal (security.microsoft.com/dkimv2) and switch your domain's DKIM toggle to Enabled.
What it costs
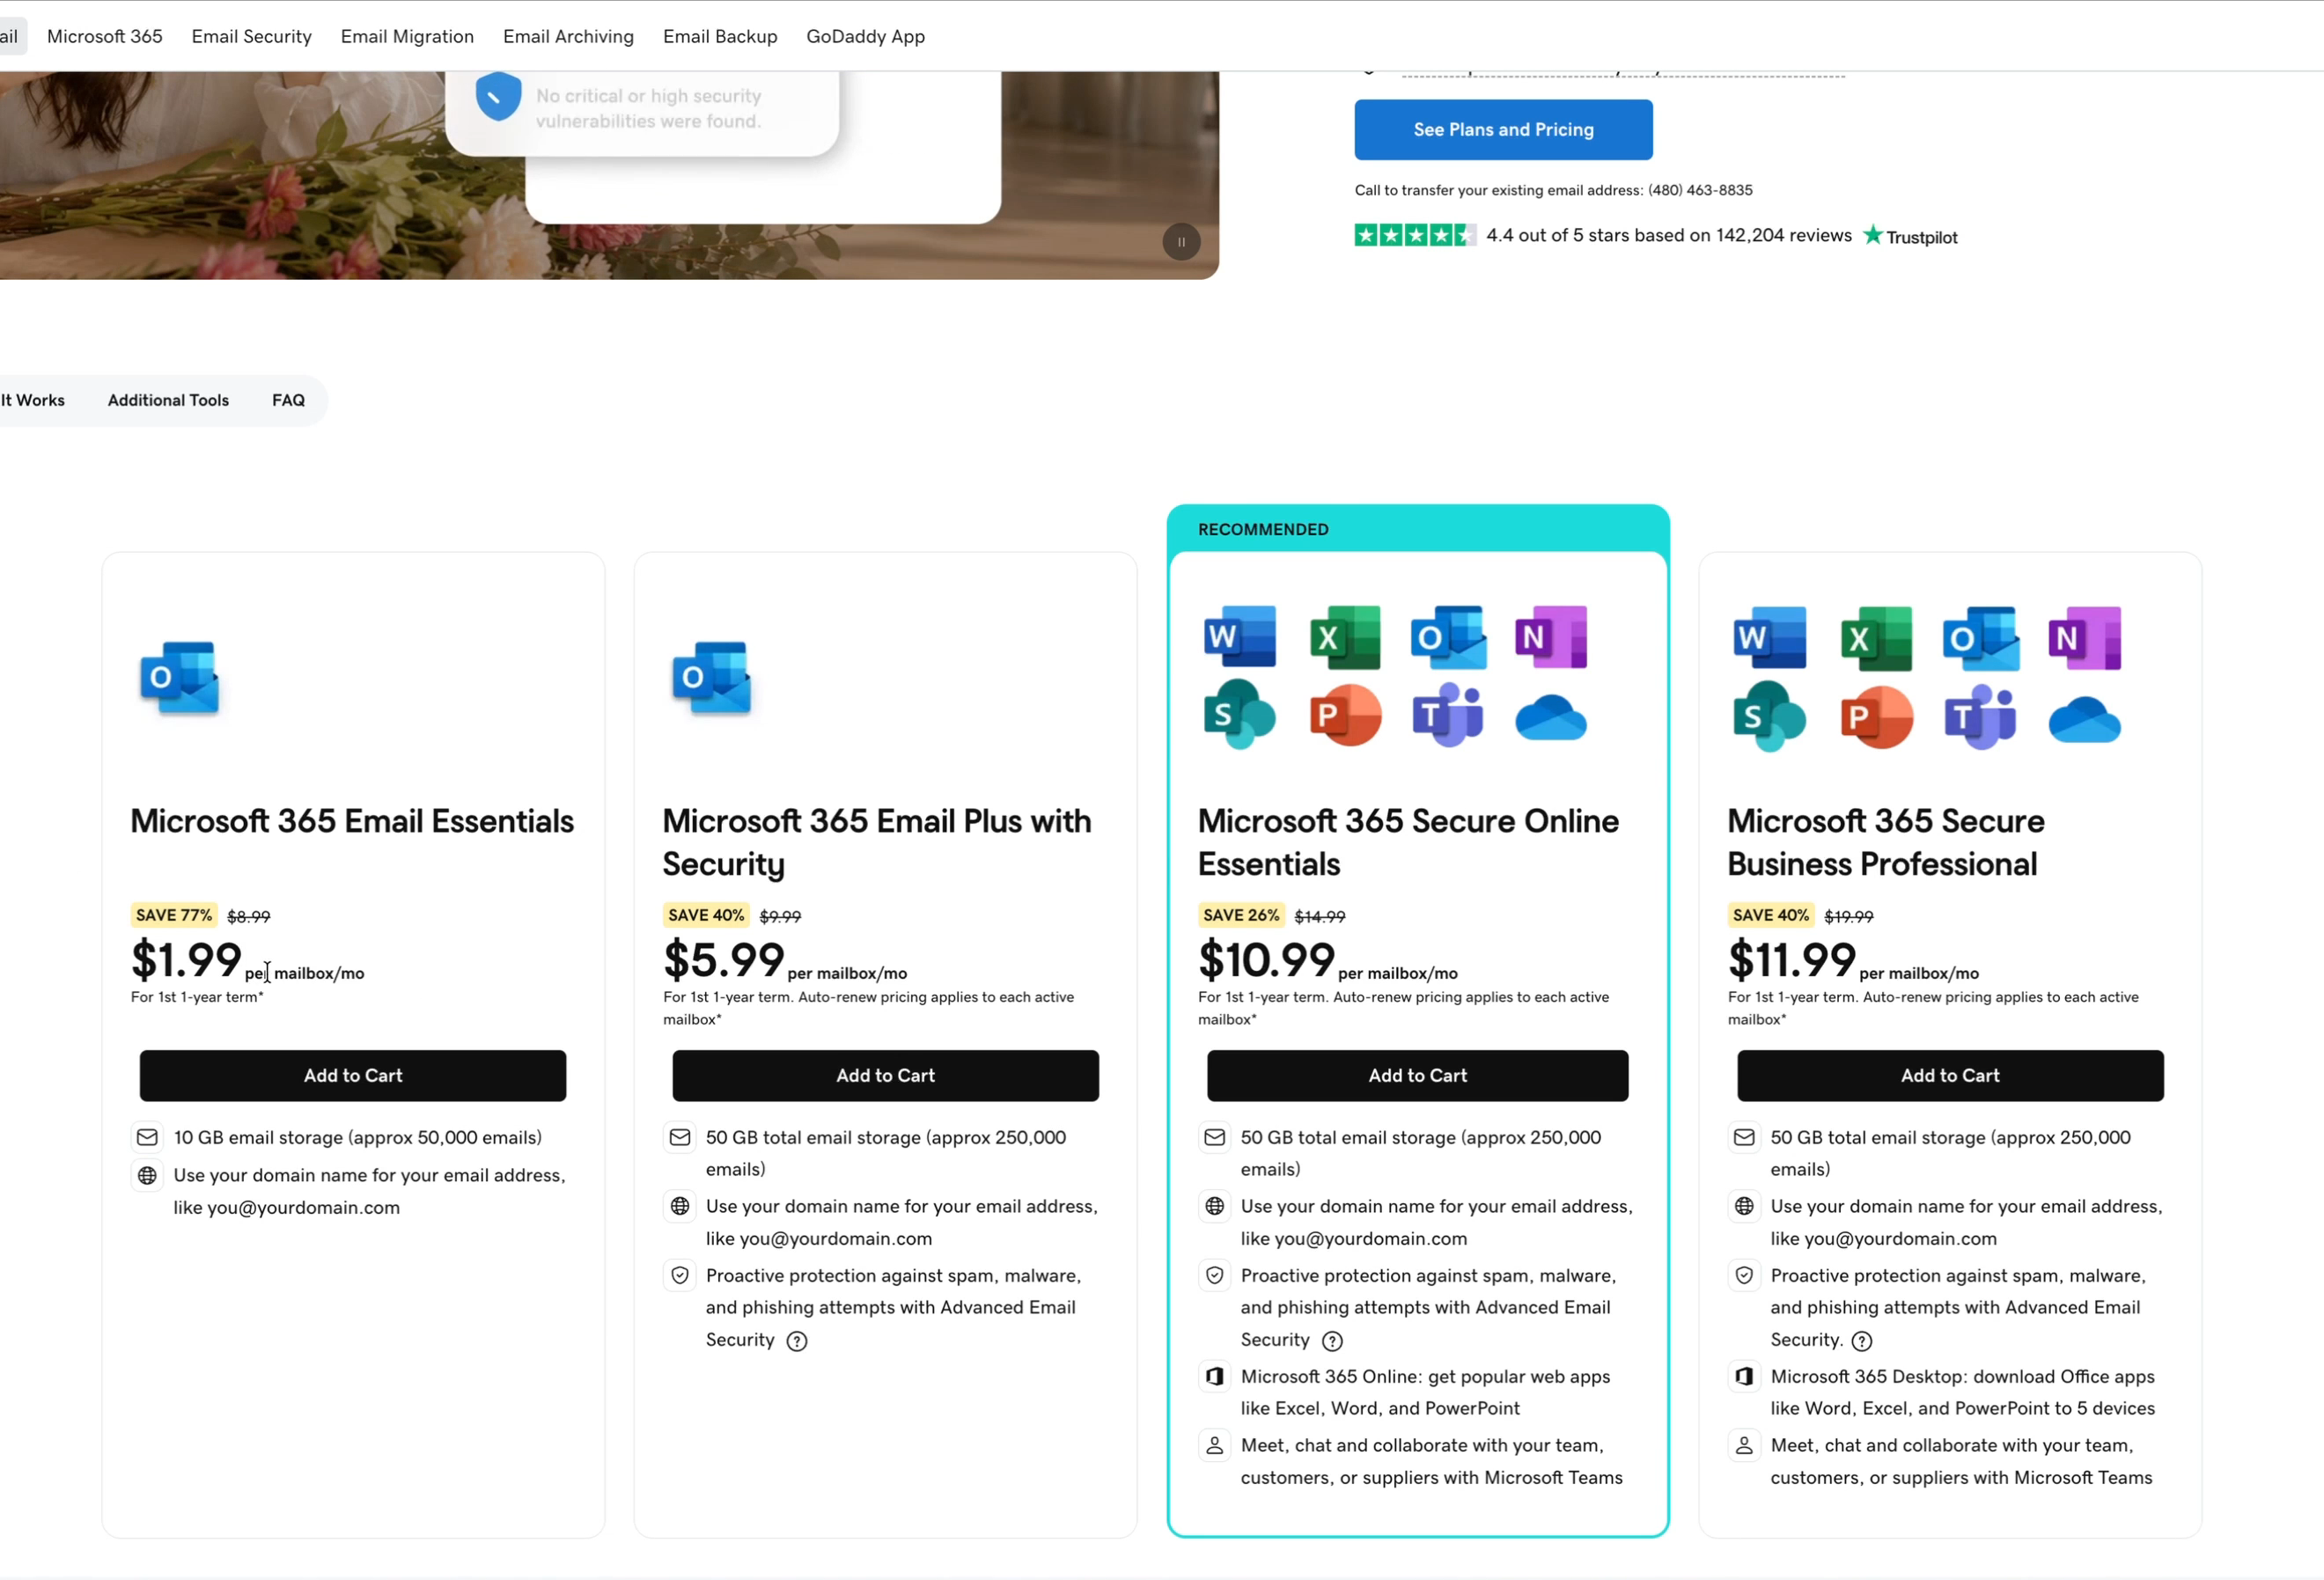
GoDaddy listed Email Essentials at $1.99 per mailbox a month, but that's only for the first 1-year term; the regular price is $8.99. GoDaddy also runs deals: Tim got his for $0.99 for the first month when he bought the domain. After the promo it's $8 to $9 a month.
On average, expect to pay $8 to $10 a month per mailbox for custom business email. Microsoft's own agreement notes the subscription renews automatically.
Can't you just use Gmail? A free @gmail.com address works, and in some industries it's common. But a custom address looks more professional and shows customers you're serious, and it's easy to set up.
Email Essentials is a fair deal if you like Outlook. Tim's own pick is Google Workspace, which gives you the Gmail you already know for about the same price.
Step 1: Create your email address
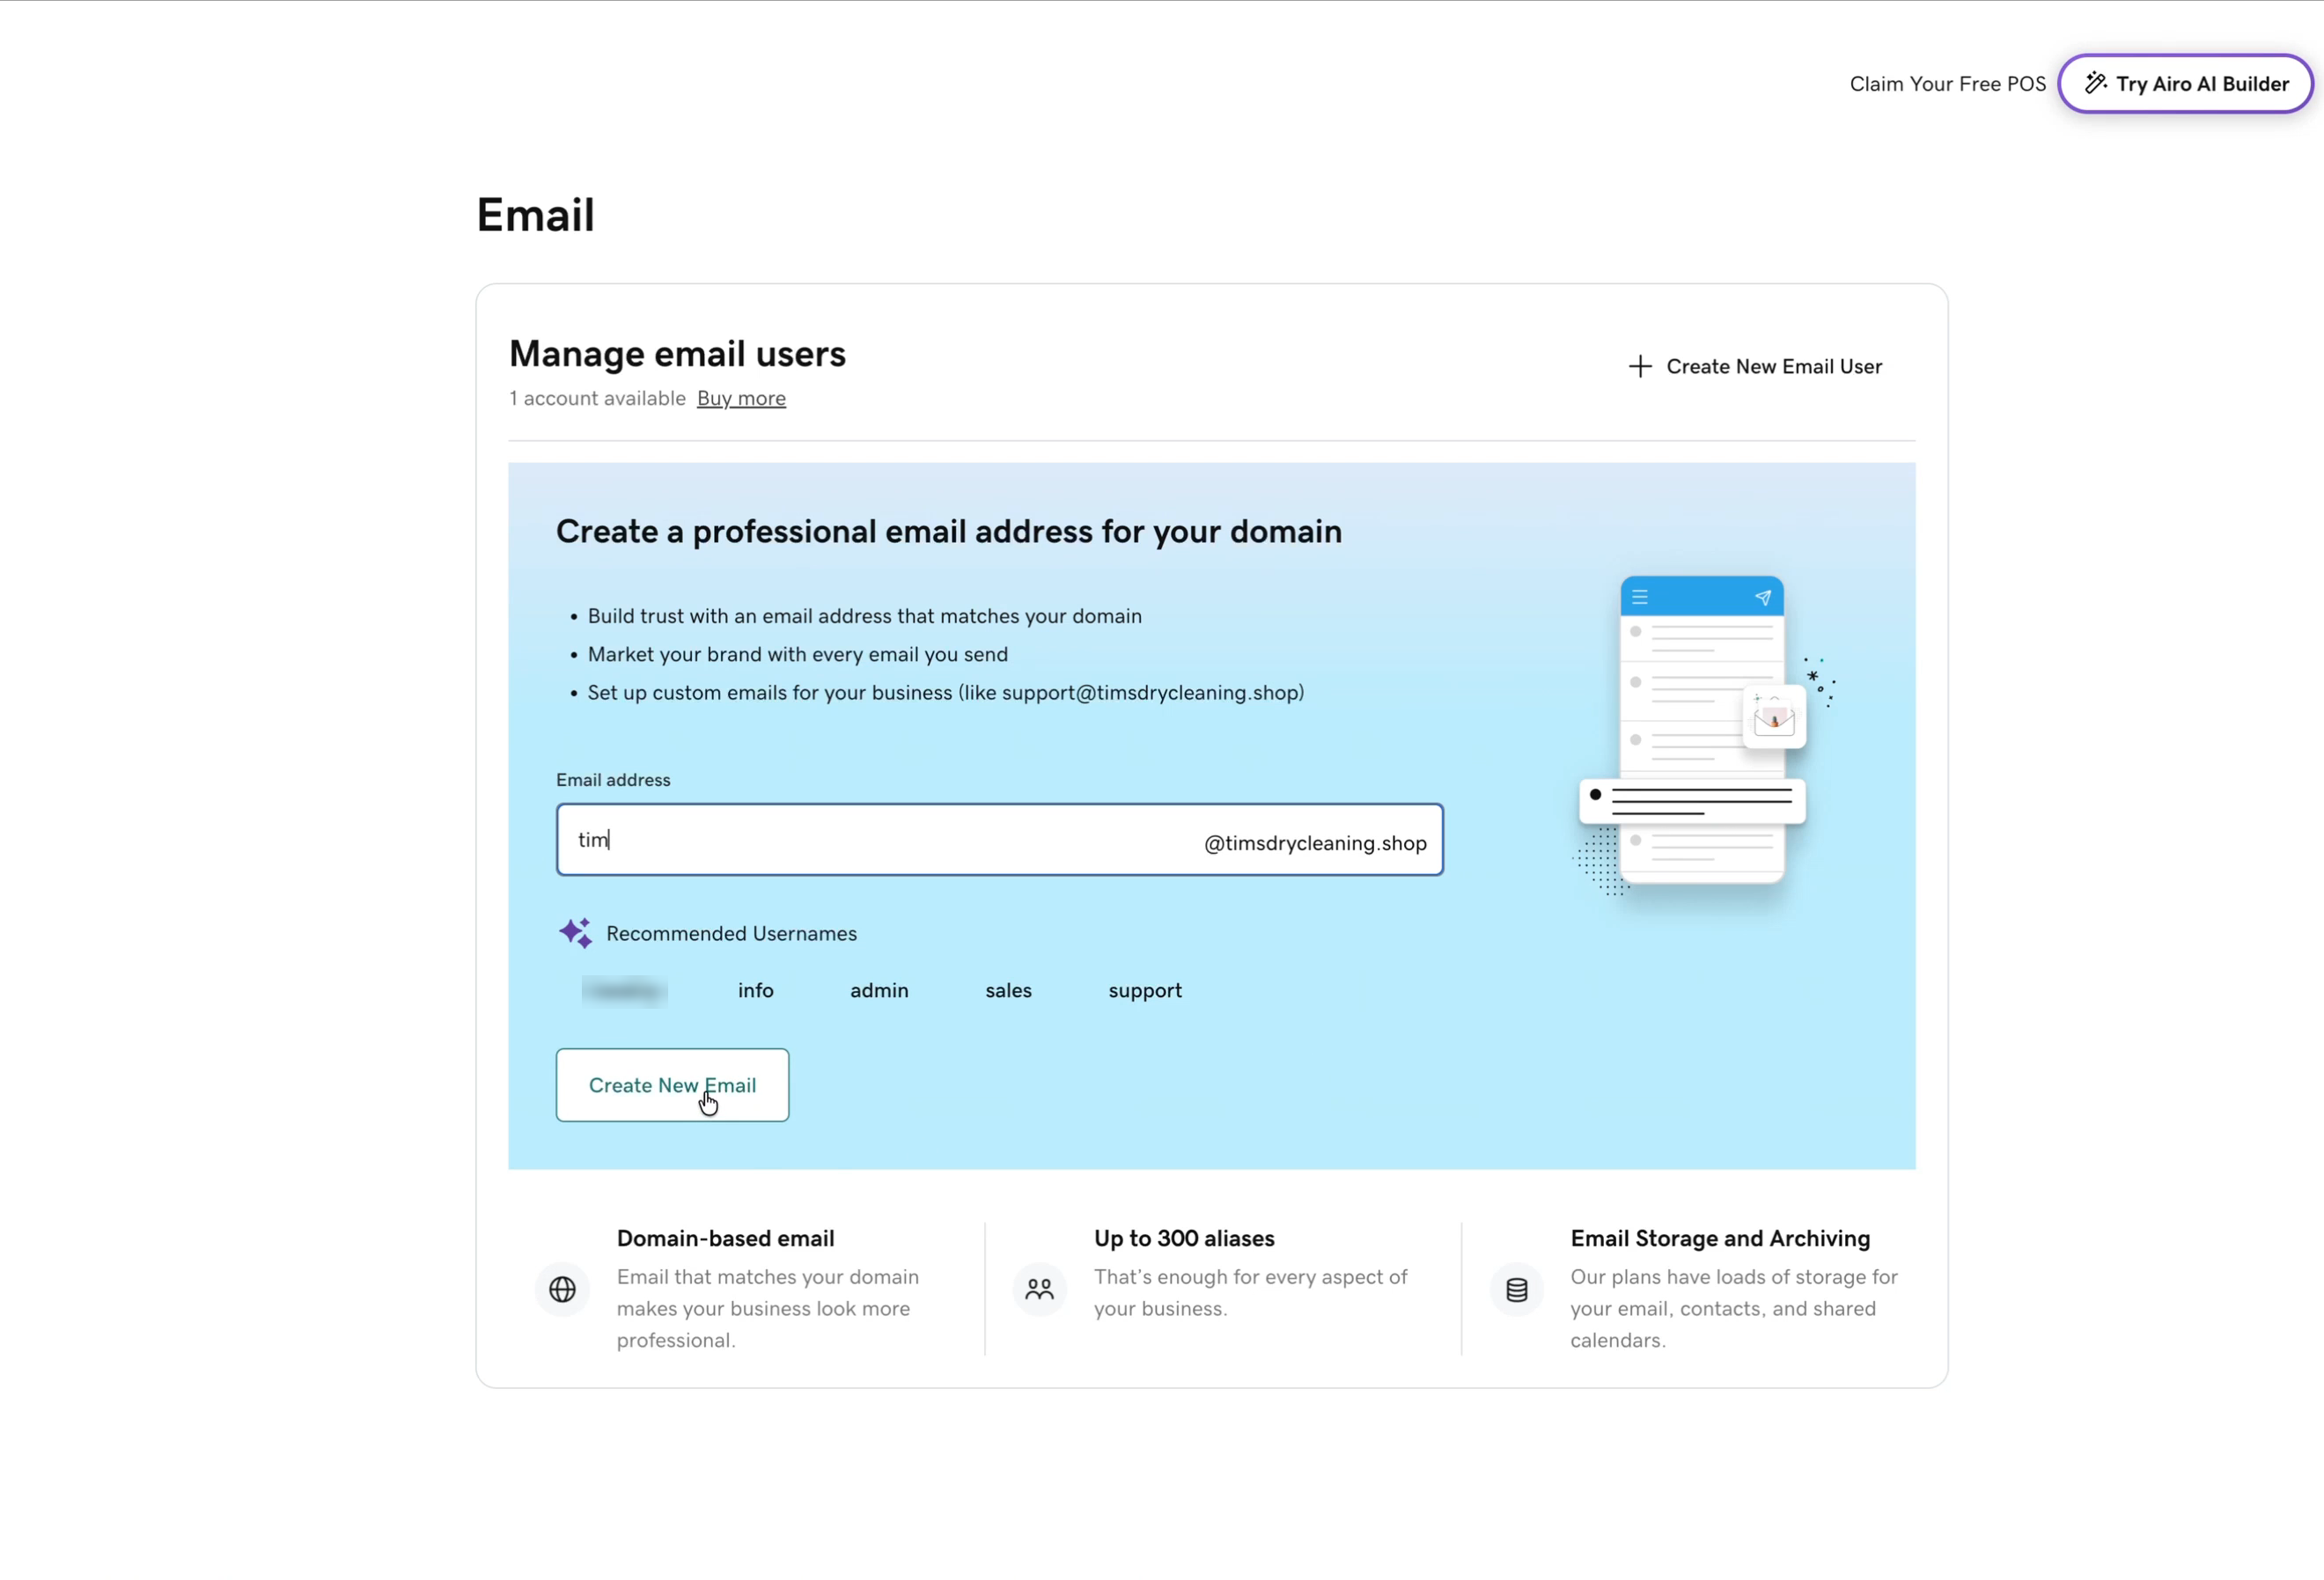
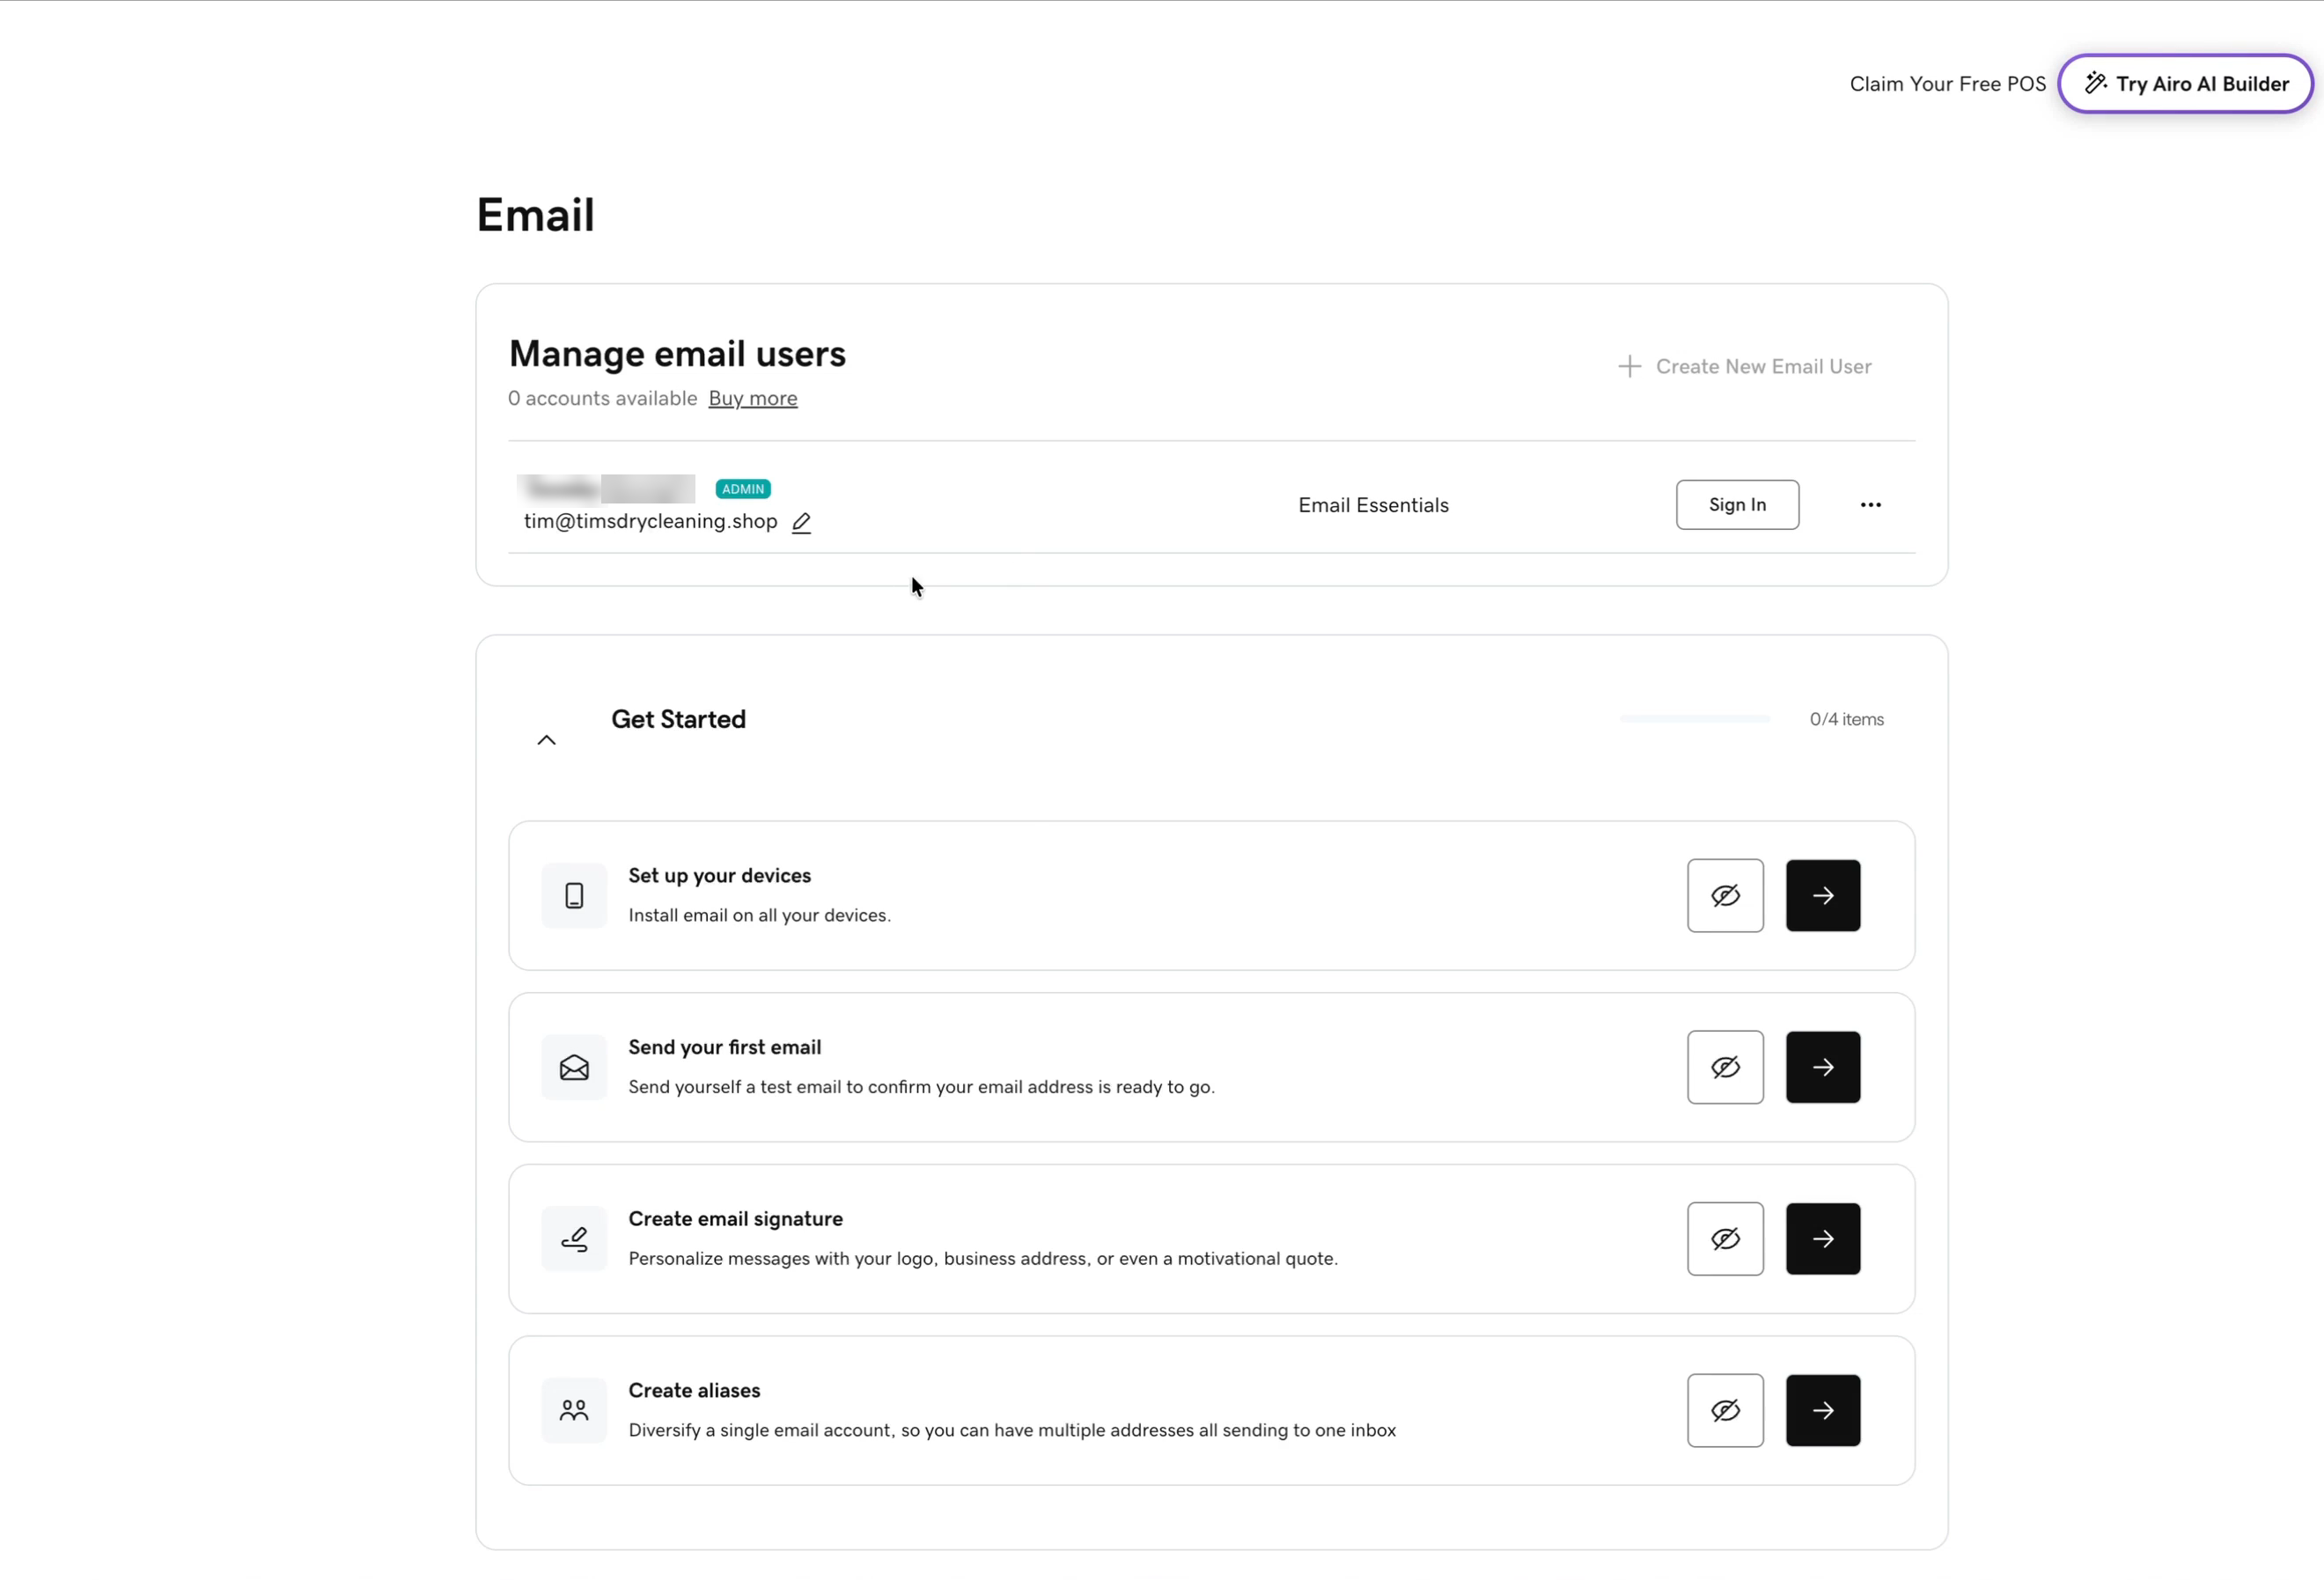
In your GoDaddy account, click Email. Under Create a professional email address for your domain, type the part before the @. GoDaddy suggests generic names like info, sales and support, which work well for a shared inbox. Tim used his own name: [email protected]. Click Create New Email.
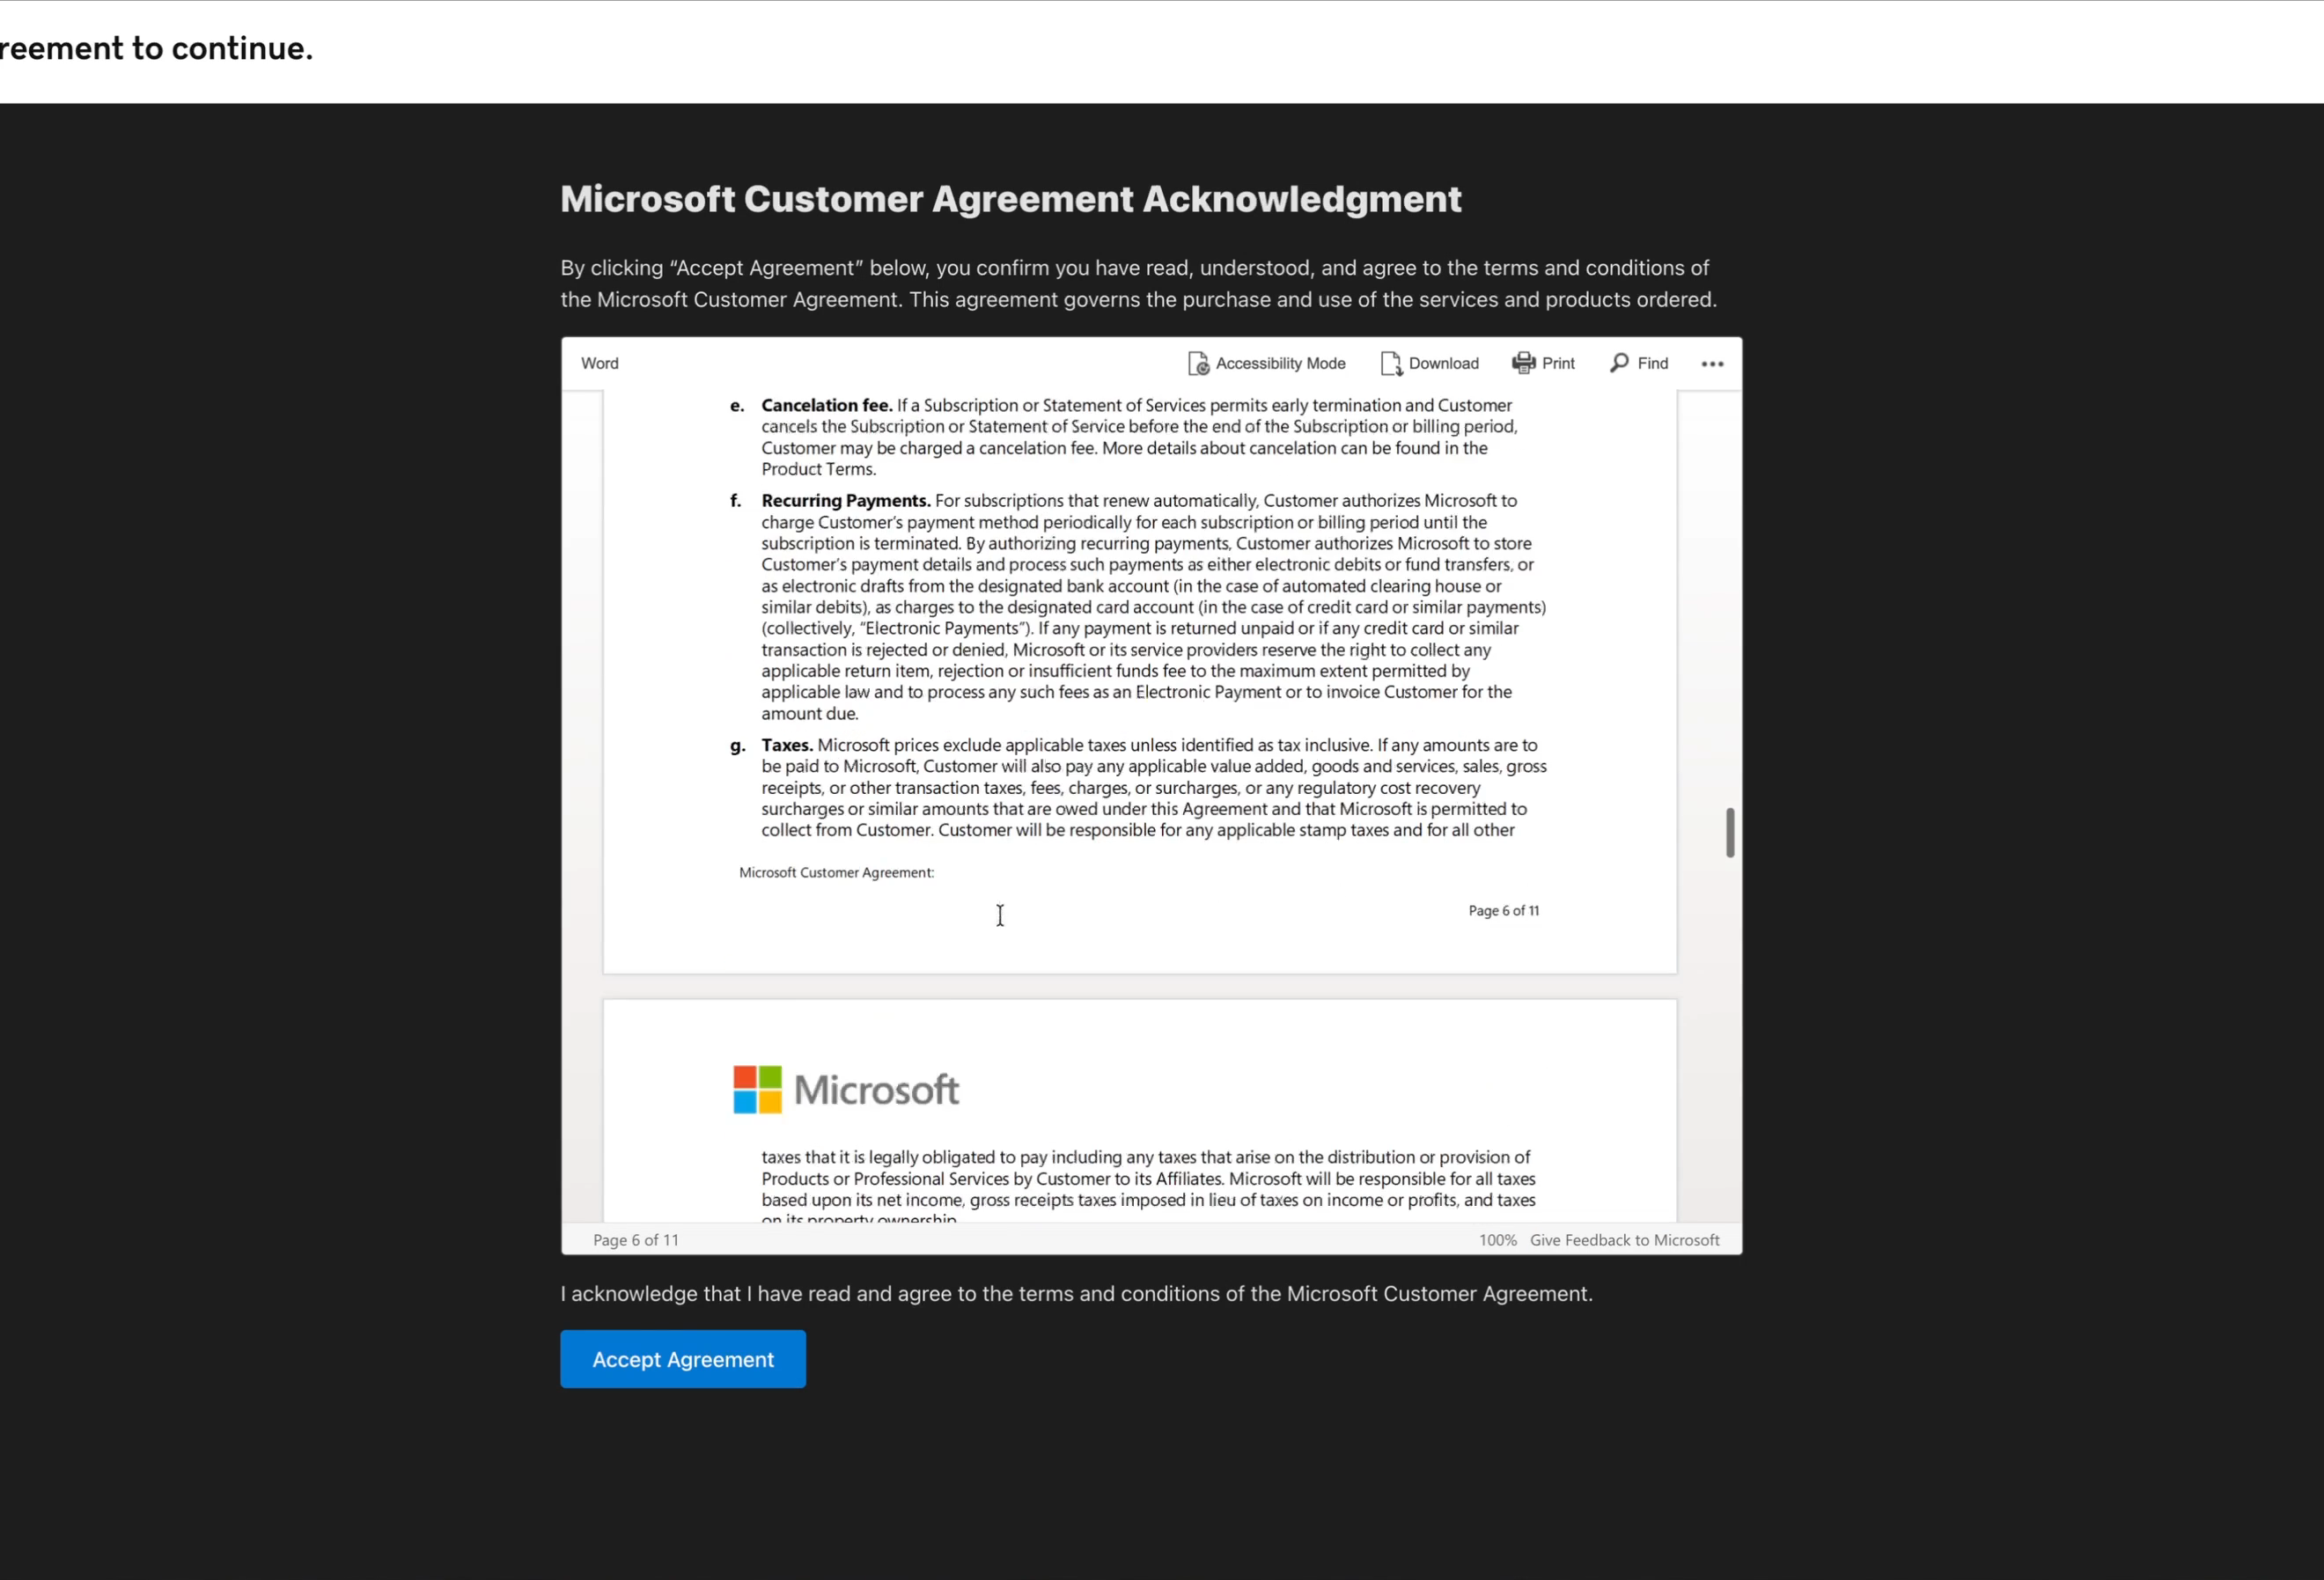
The service is provided by Microsoft, so you'll be asked to accept the Microsoft Customer Agreement. Click Accept Agreement.
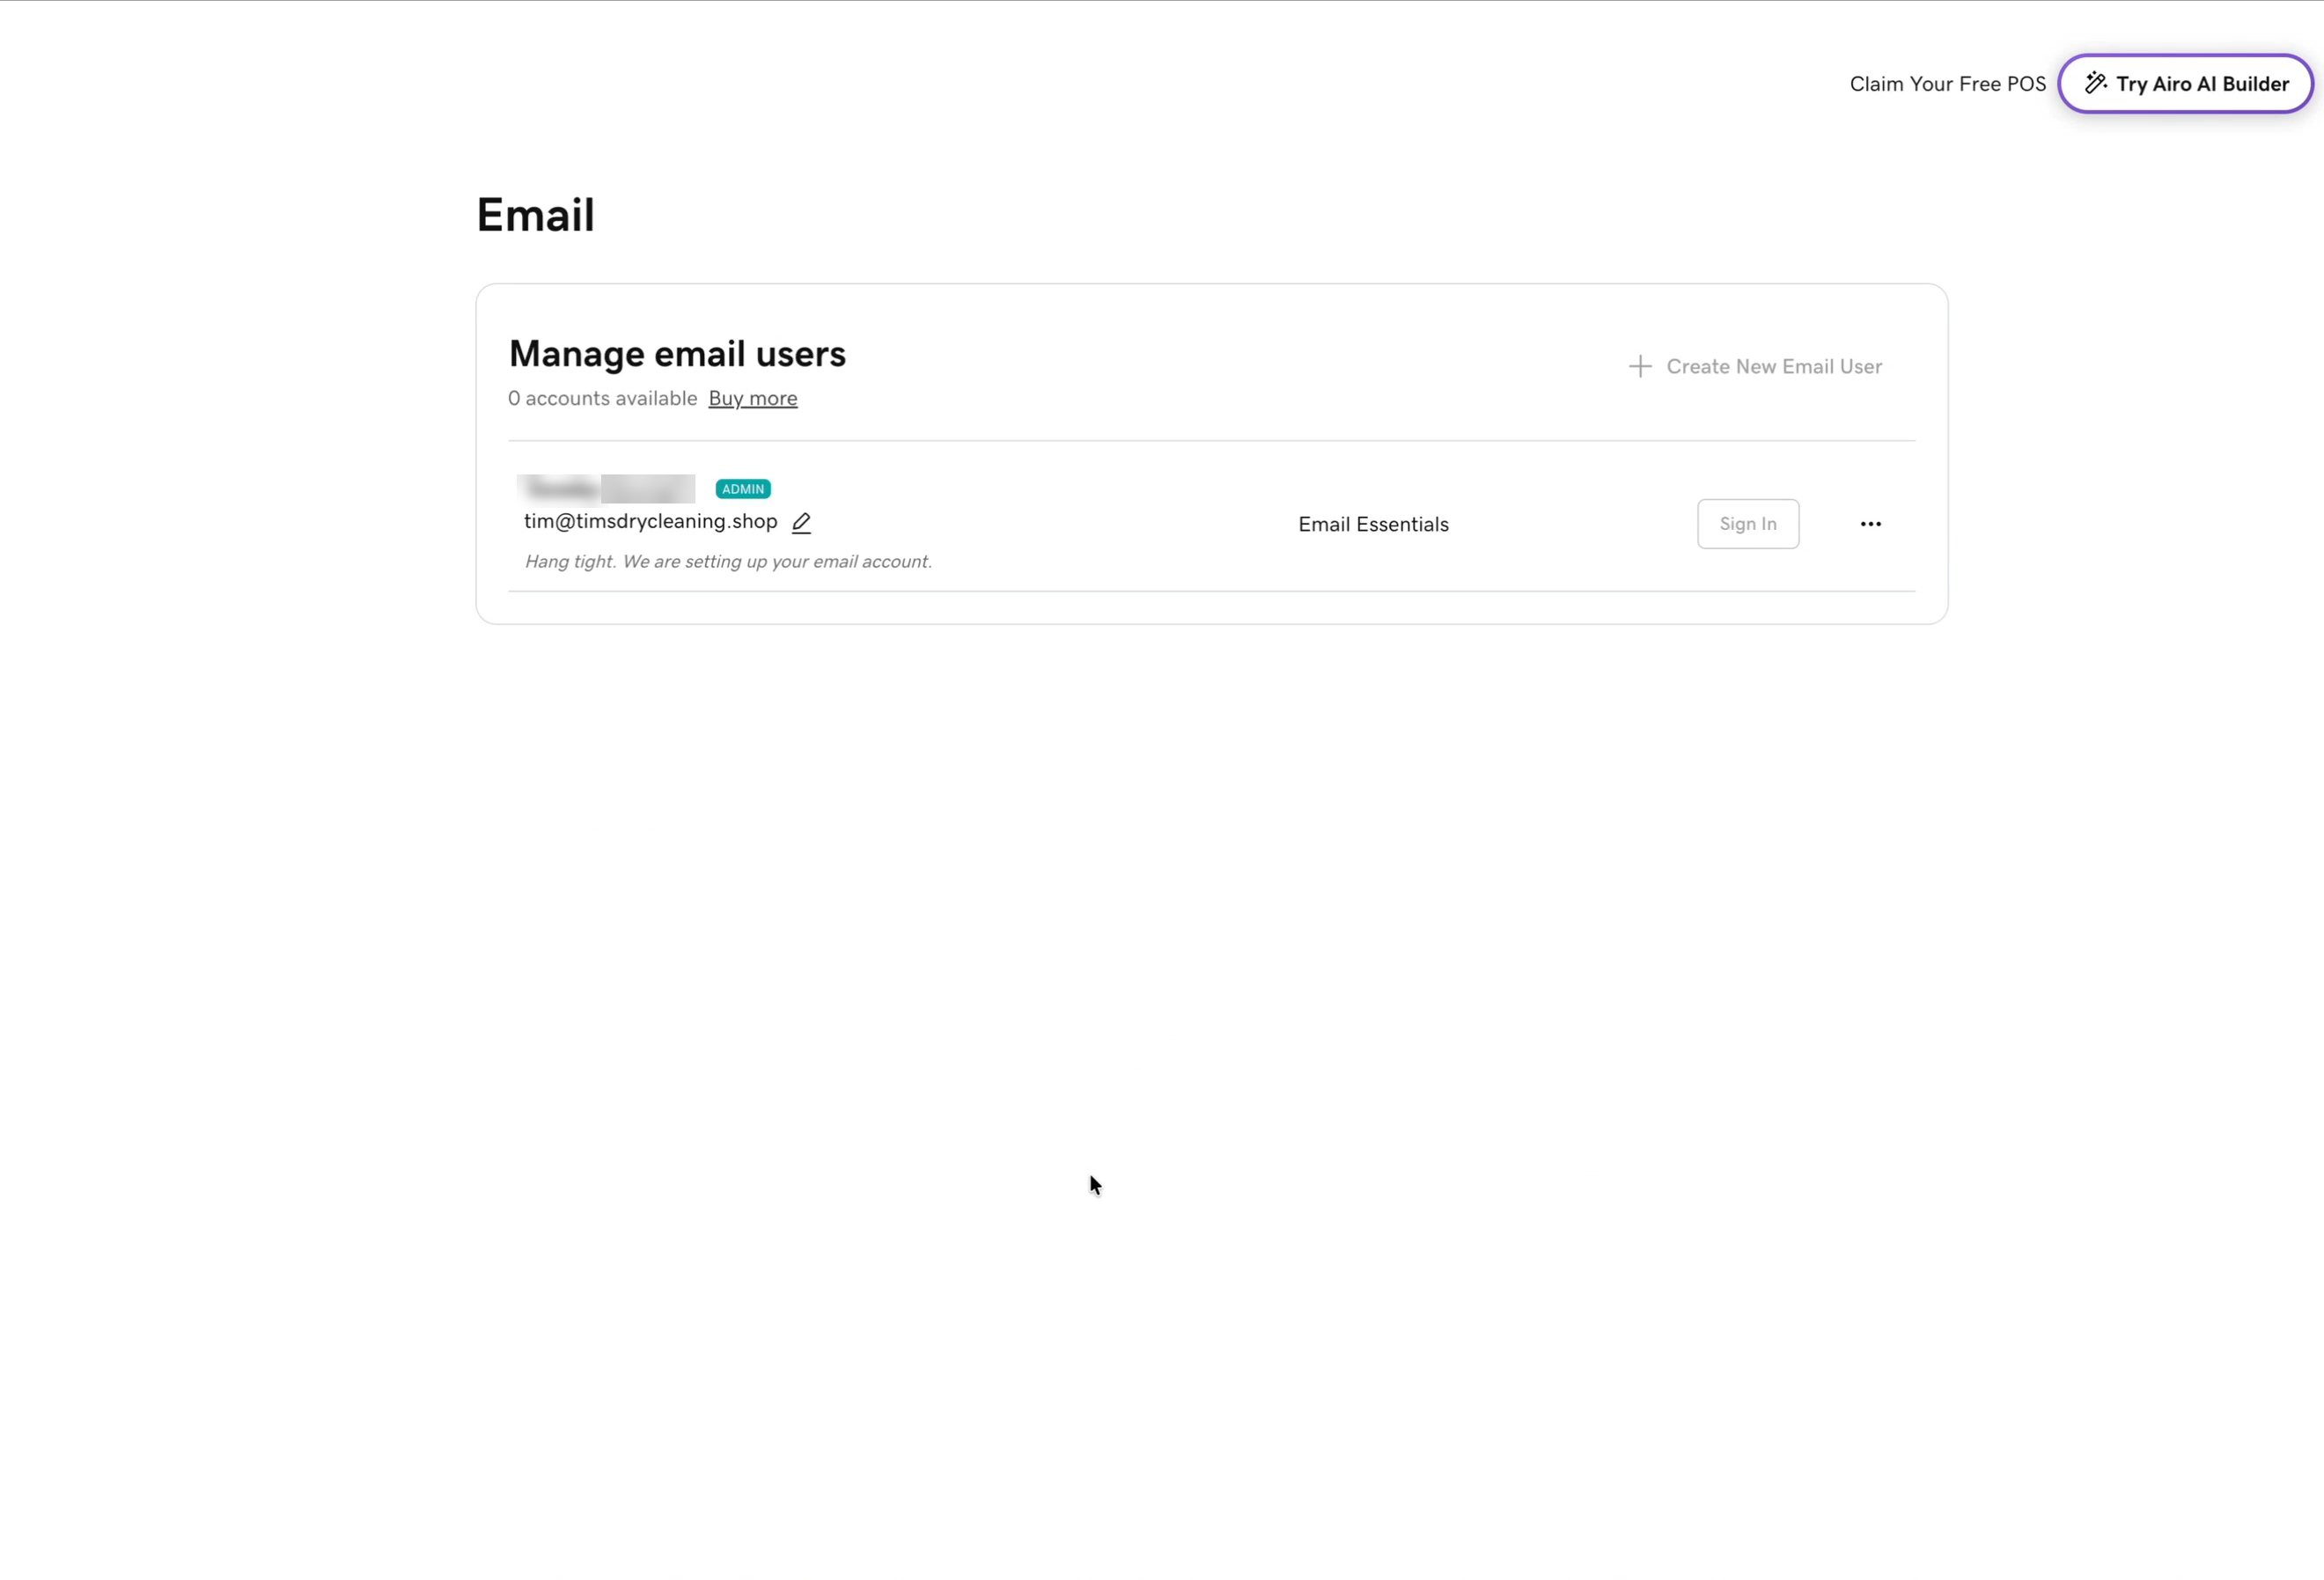
Behind the scenes, GoDaddy now sets up your mailbox with Microsoft. The address appears under Manage email users with "Hang tight. We are setting up your email account." The Sign In button won't work until that message goes away, which took a minute or two.
Step 2: Sign in and open Outlook
Once setup finishes, click Sign In next to your new address. It opens Microsoft 365 in a new tab. GoDaddy also shows a Get Started checklist (set up your devices, send your first email, create a signature, create aliases) that you can work through later.
If you see "Sorry, we're having trouble signing you in"
Tim hit this error because his browser was already signed in to a different Microsoft 365 account. Most people won't see it. If you do:
- Sign out of GoDaddy and sign back in.
- Close all the Microsoft and Outlook tabs from the old account.
- Click Sign In again from GoDaddy's Email page. A private or incognito window can also help.
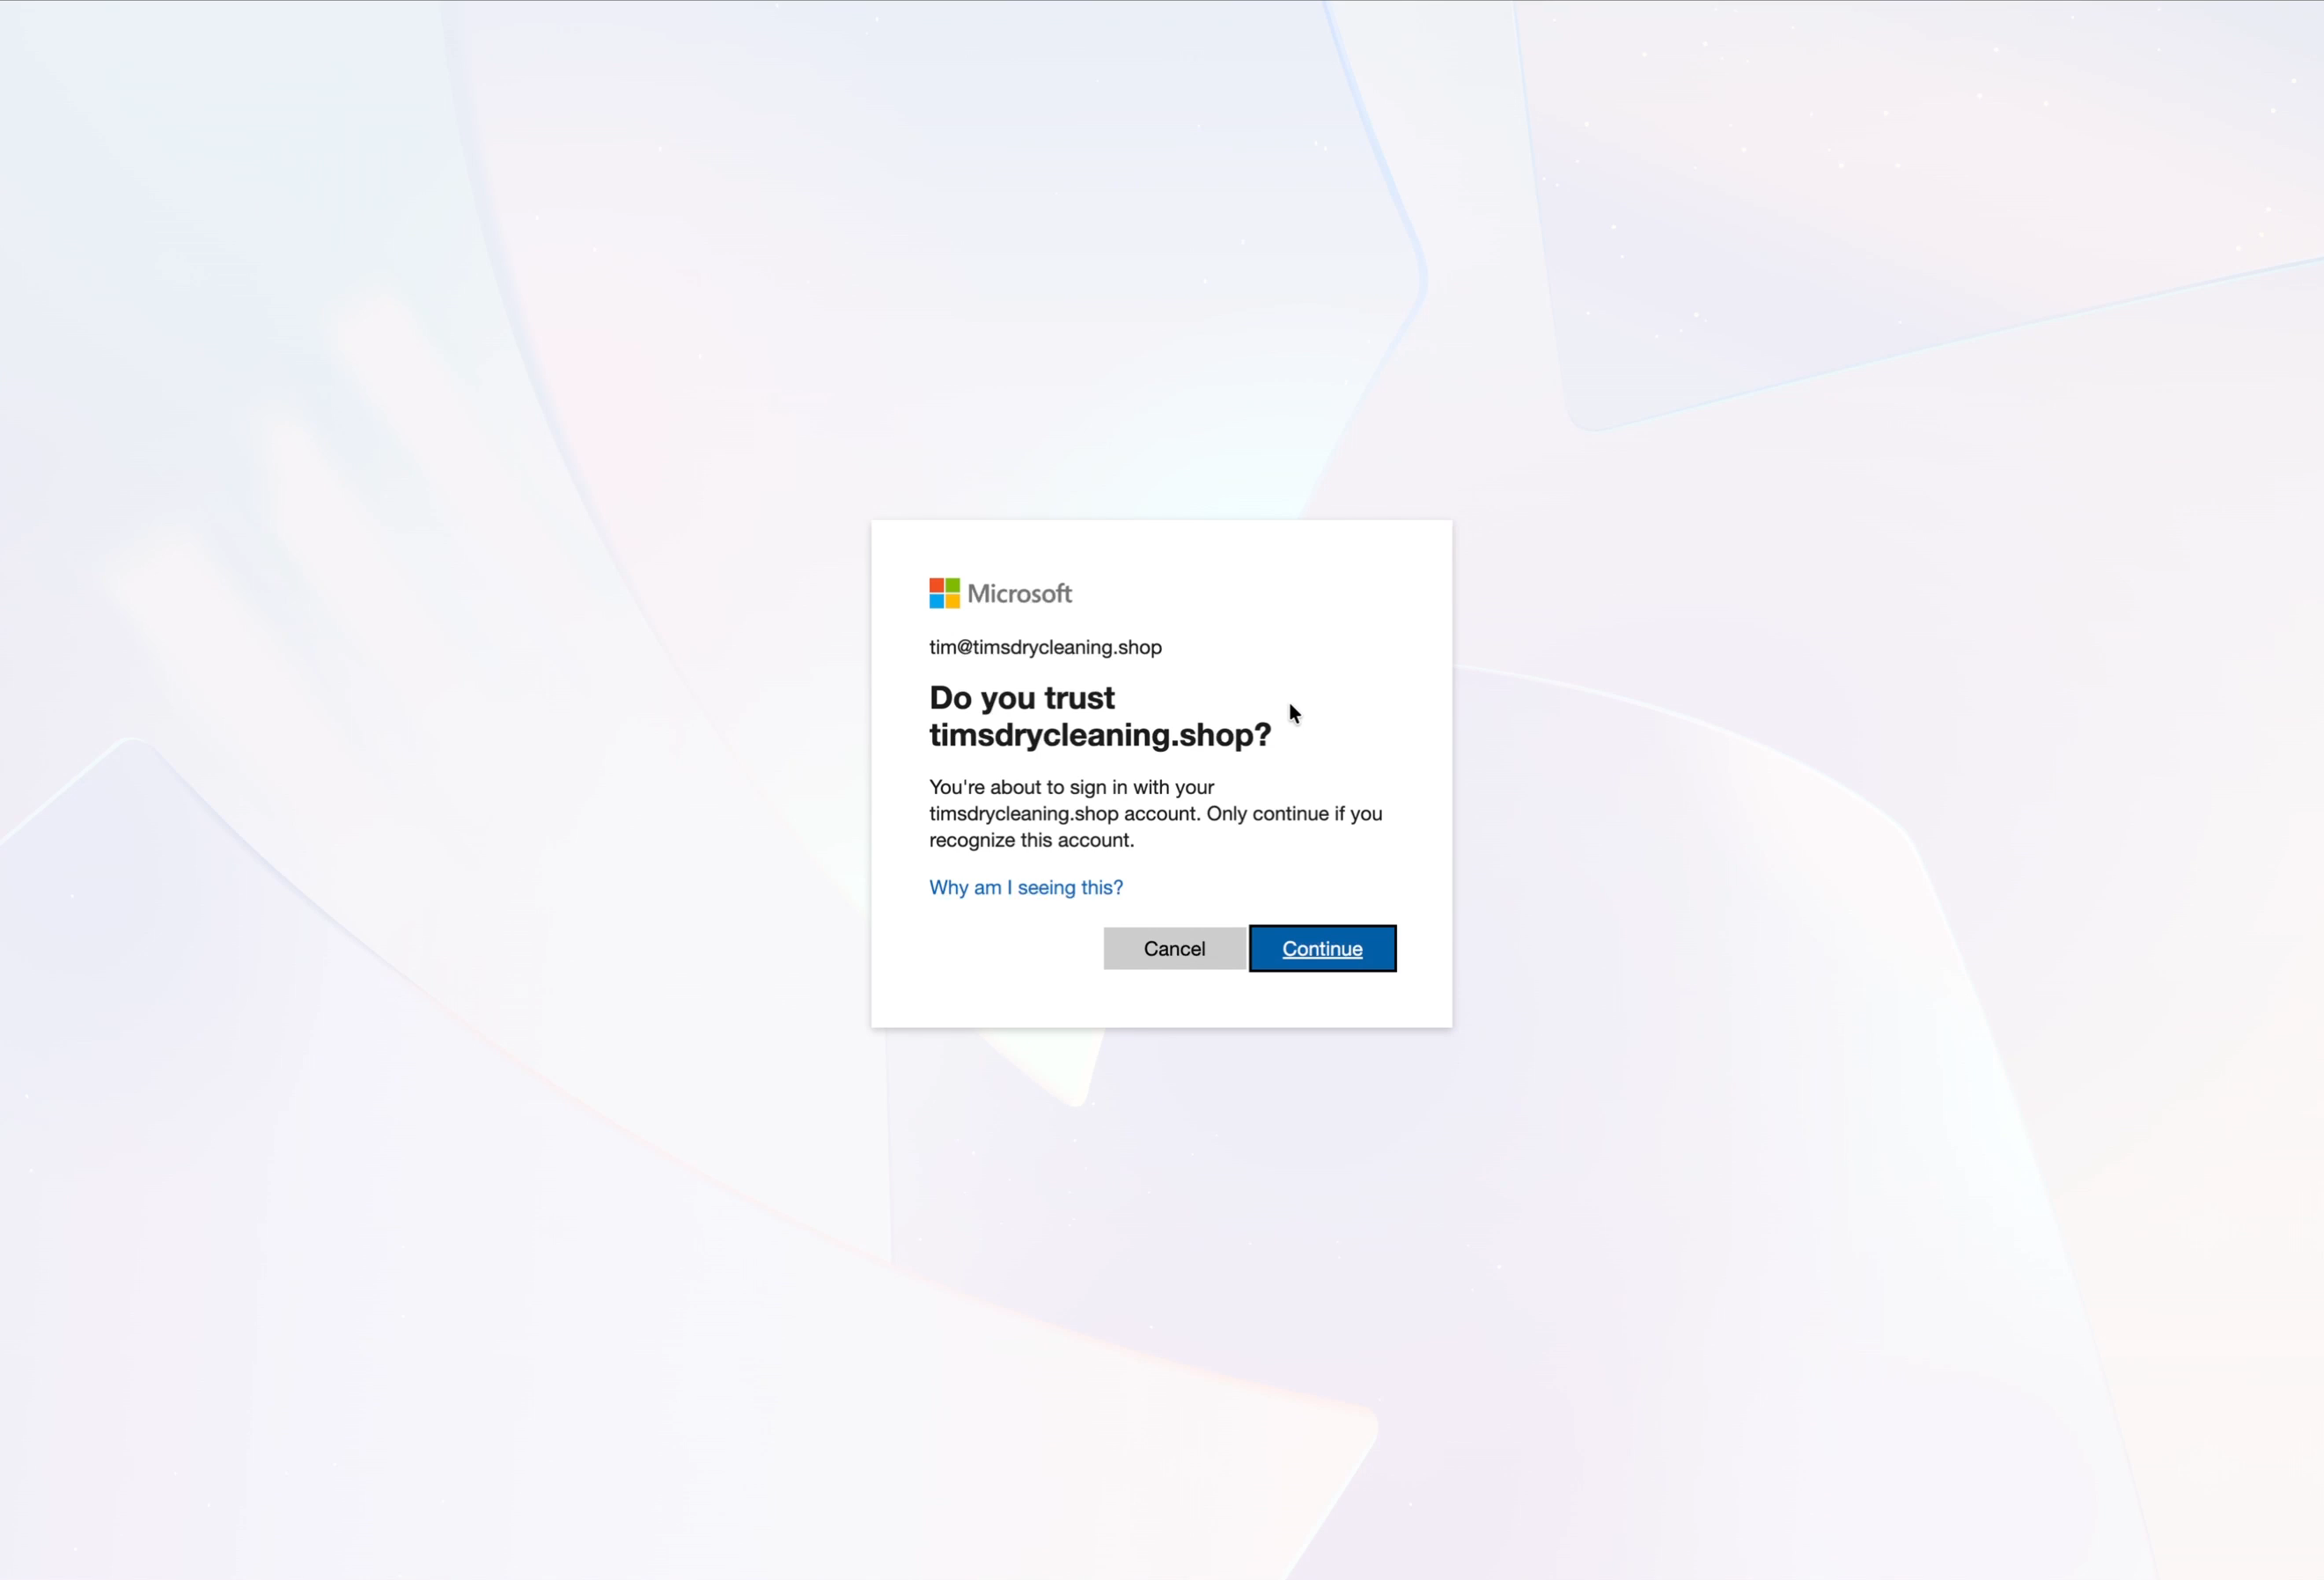
Microsoft then asks "Do you trust timsdrycleaning.shop?" (your domain, in your case). It's your own domain, so click Continue. Choose whether to stay signed in, then click Outlook.
Step 3: Send yourself a test email
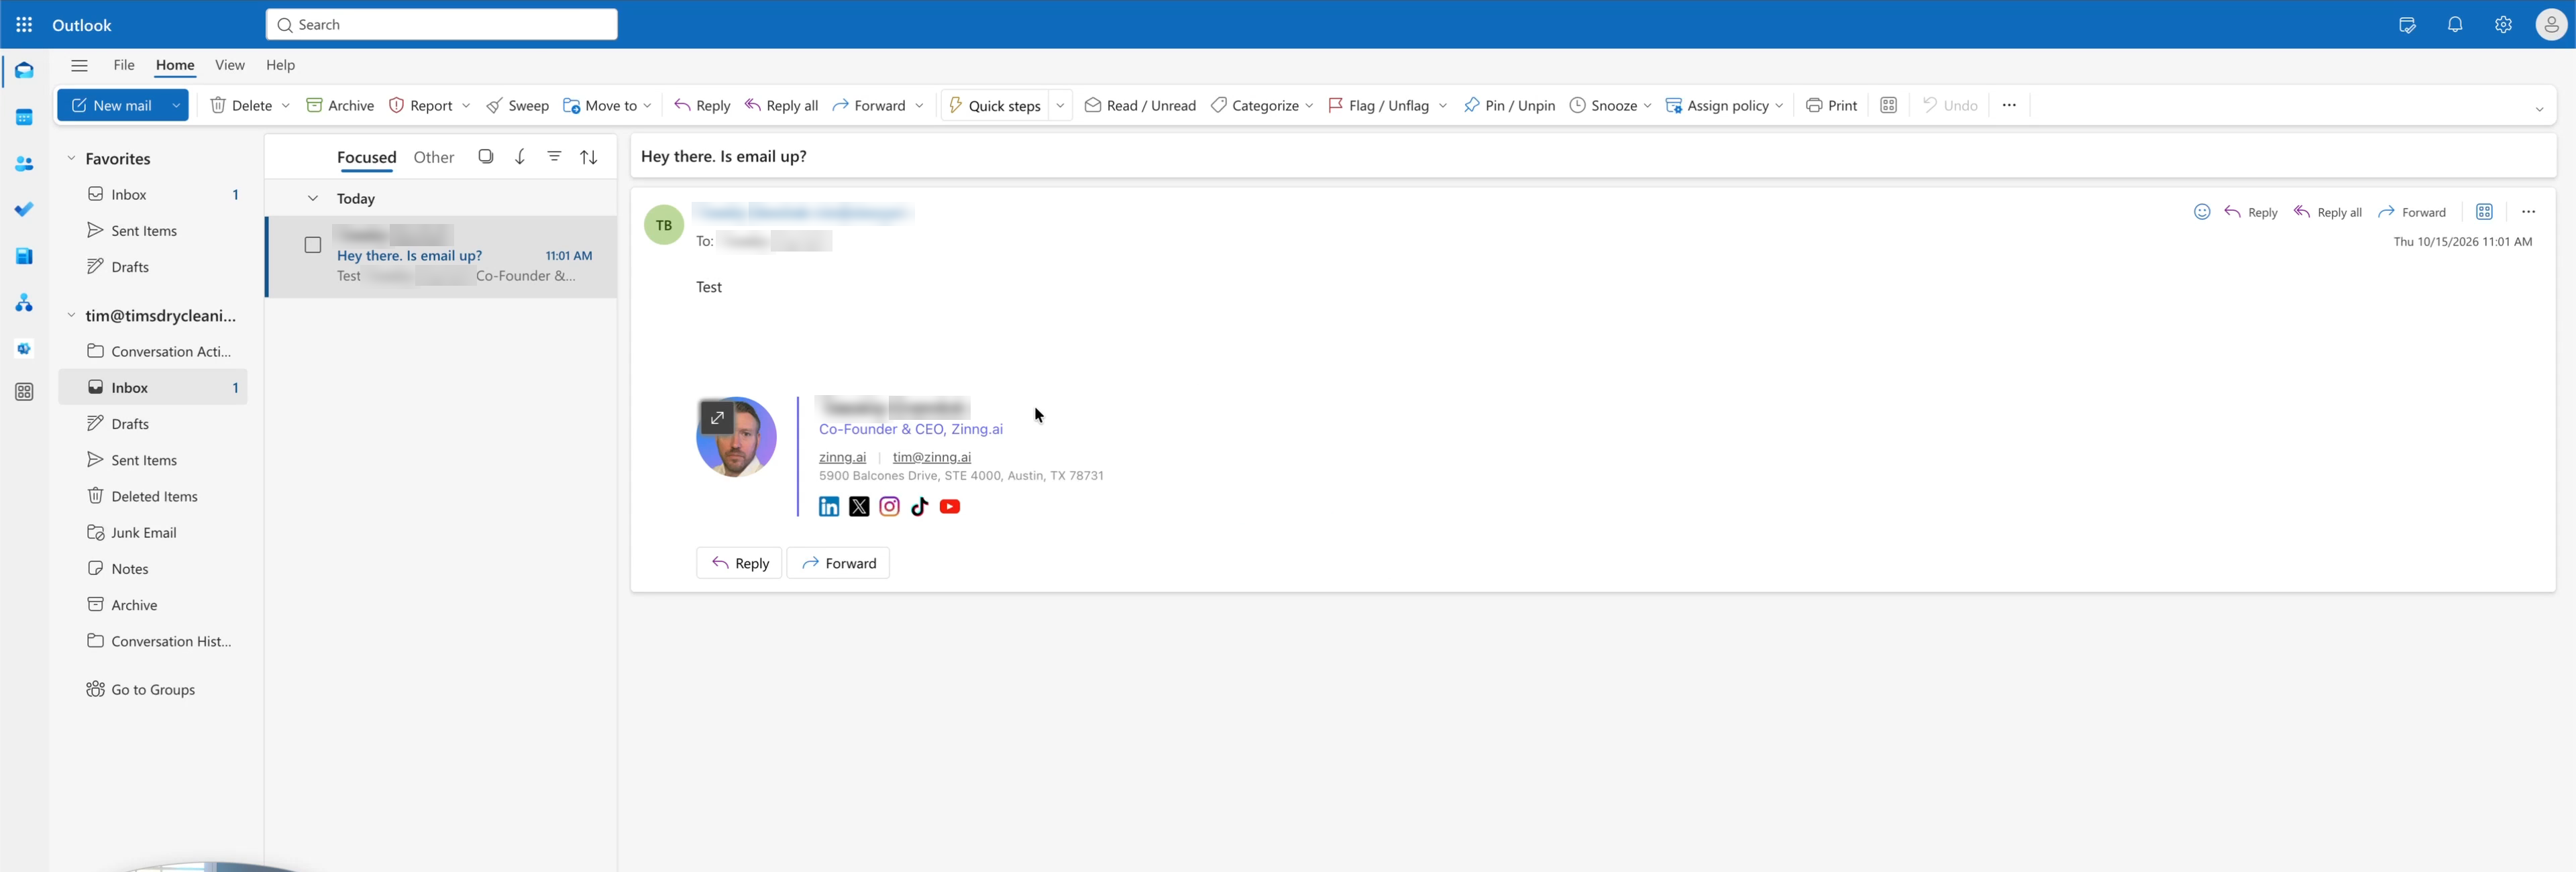
You're now in the familiar Outlook web app. Send an email to your new address from another account, such as your phone. Tim sent one from his Zinng address, and it arrived in the inbox within seconds.
Receiving works, but that doesn't mean the email you send will reach inboxes. That's the next check.
Want every email sent to your domain, even misspelled addresses, to land in one inbox? That's a catch-all, and we cover it separately in how to set up a catch-all email on GoDaddy Microsoft 365.
Step 4: Check that your email won't go to spam
Three settings decide whether your email reaches inboxes:
- SPF (approved senders): a list on your domain of the services allowed to send email for you.
- DKIM (digital signature): a tamper-proof signature that proves an email really came from you.
- DMARC (spoofing protection): tells Gmail, Outlook and others what to do with fake emails pretending to be you.
You might think this only matters if you send cold email. It doesn't. Without all three, even replies to your own customers can go to spam. A customer asks you to email them a quote, it lands in spam, they forget about you, and you lose the job.
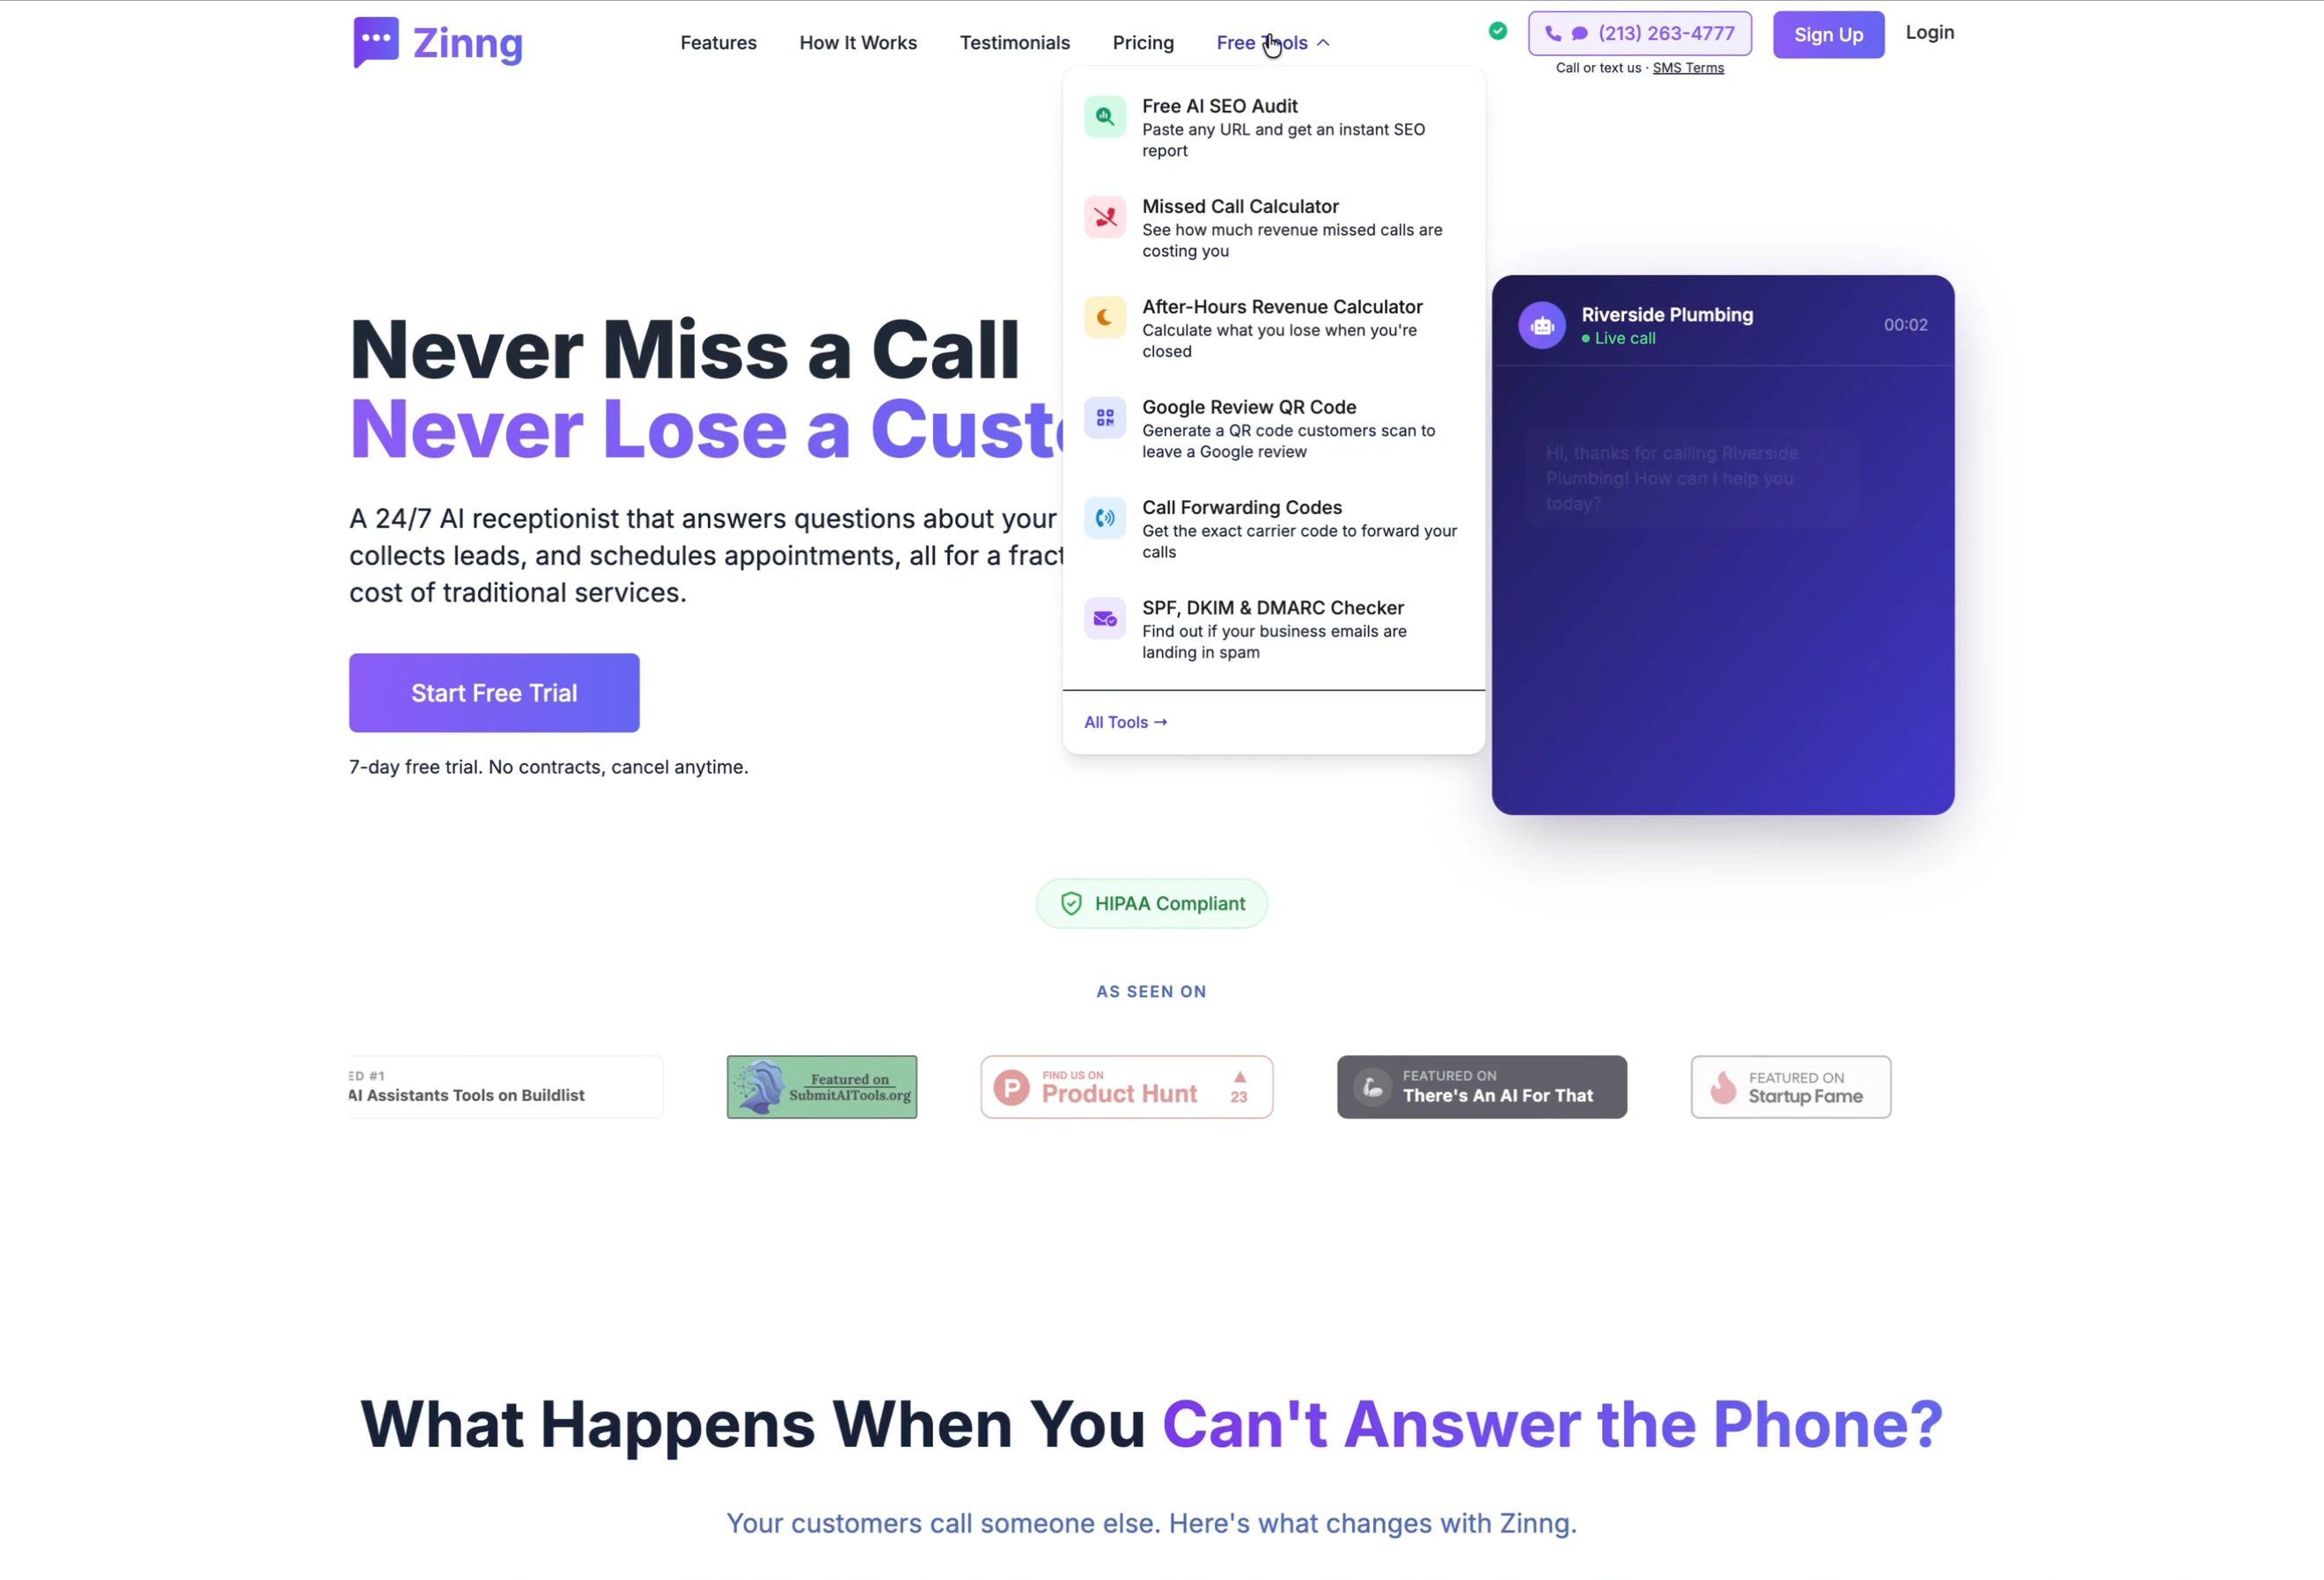
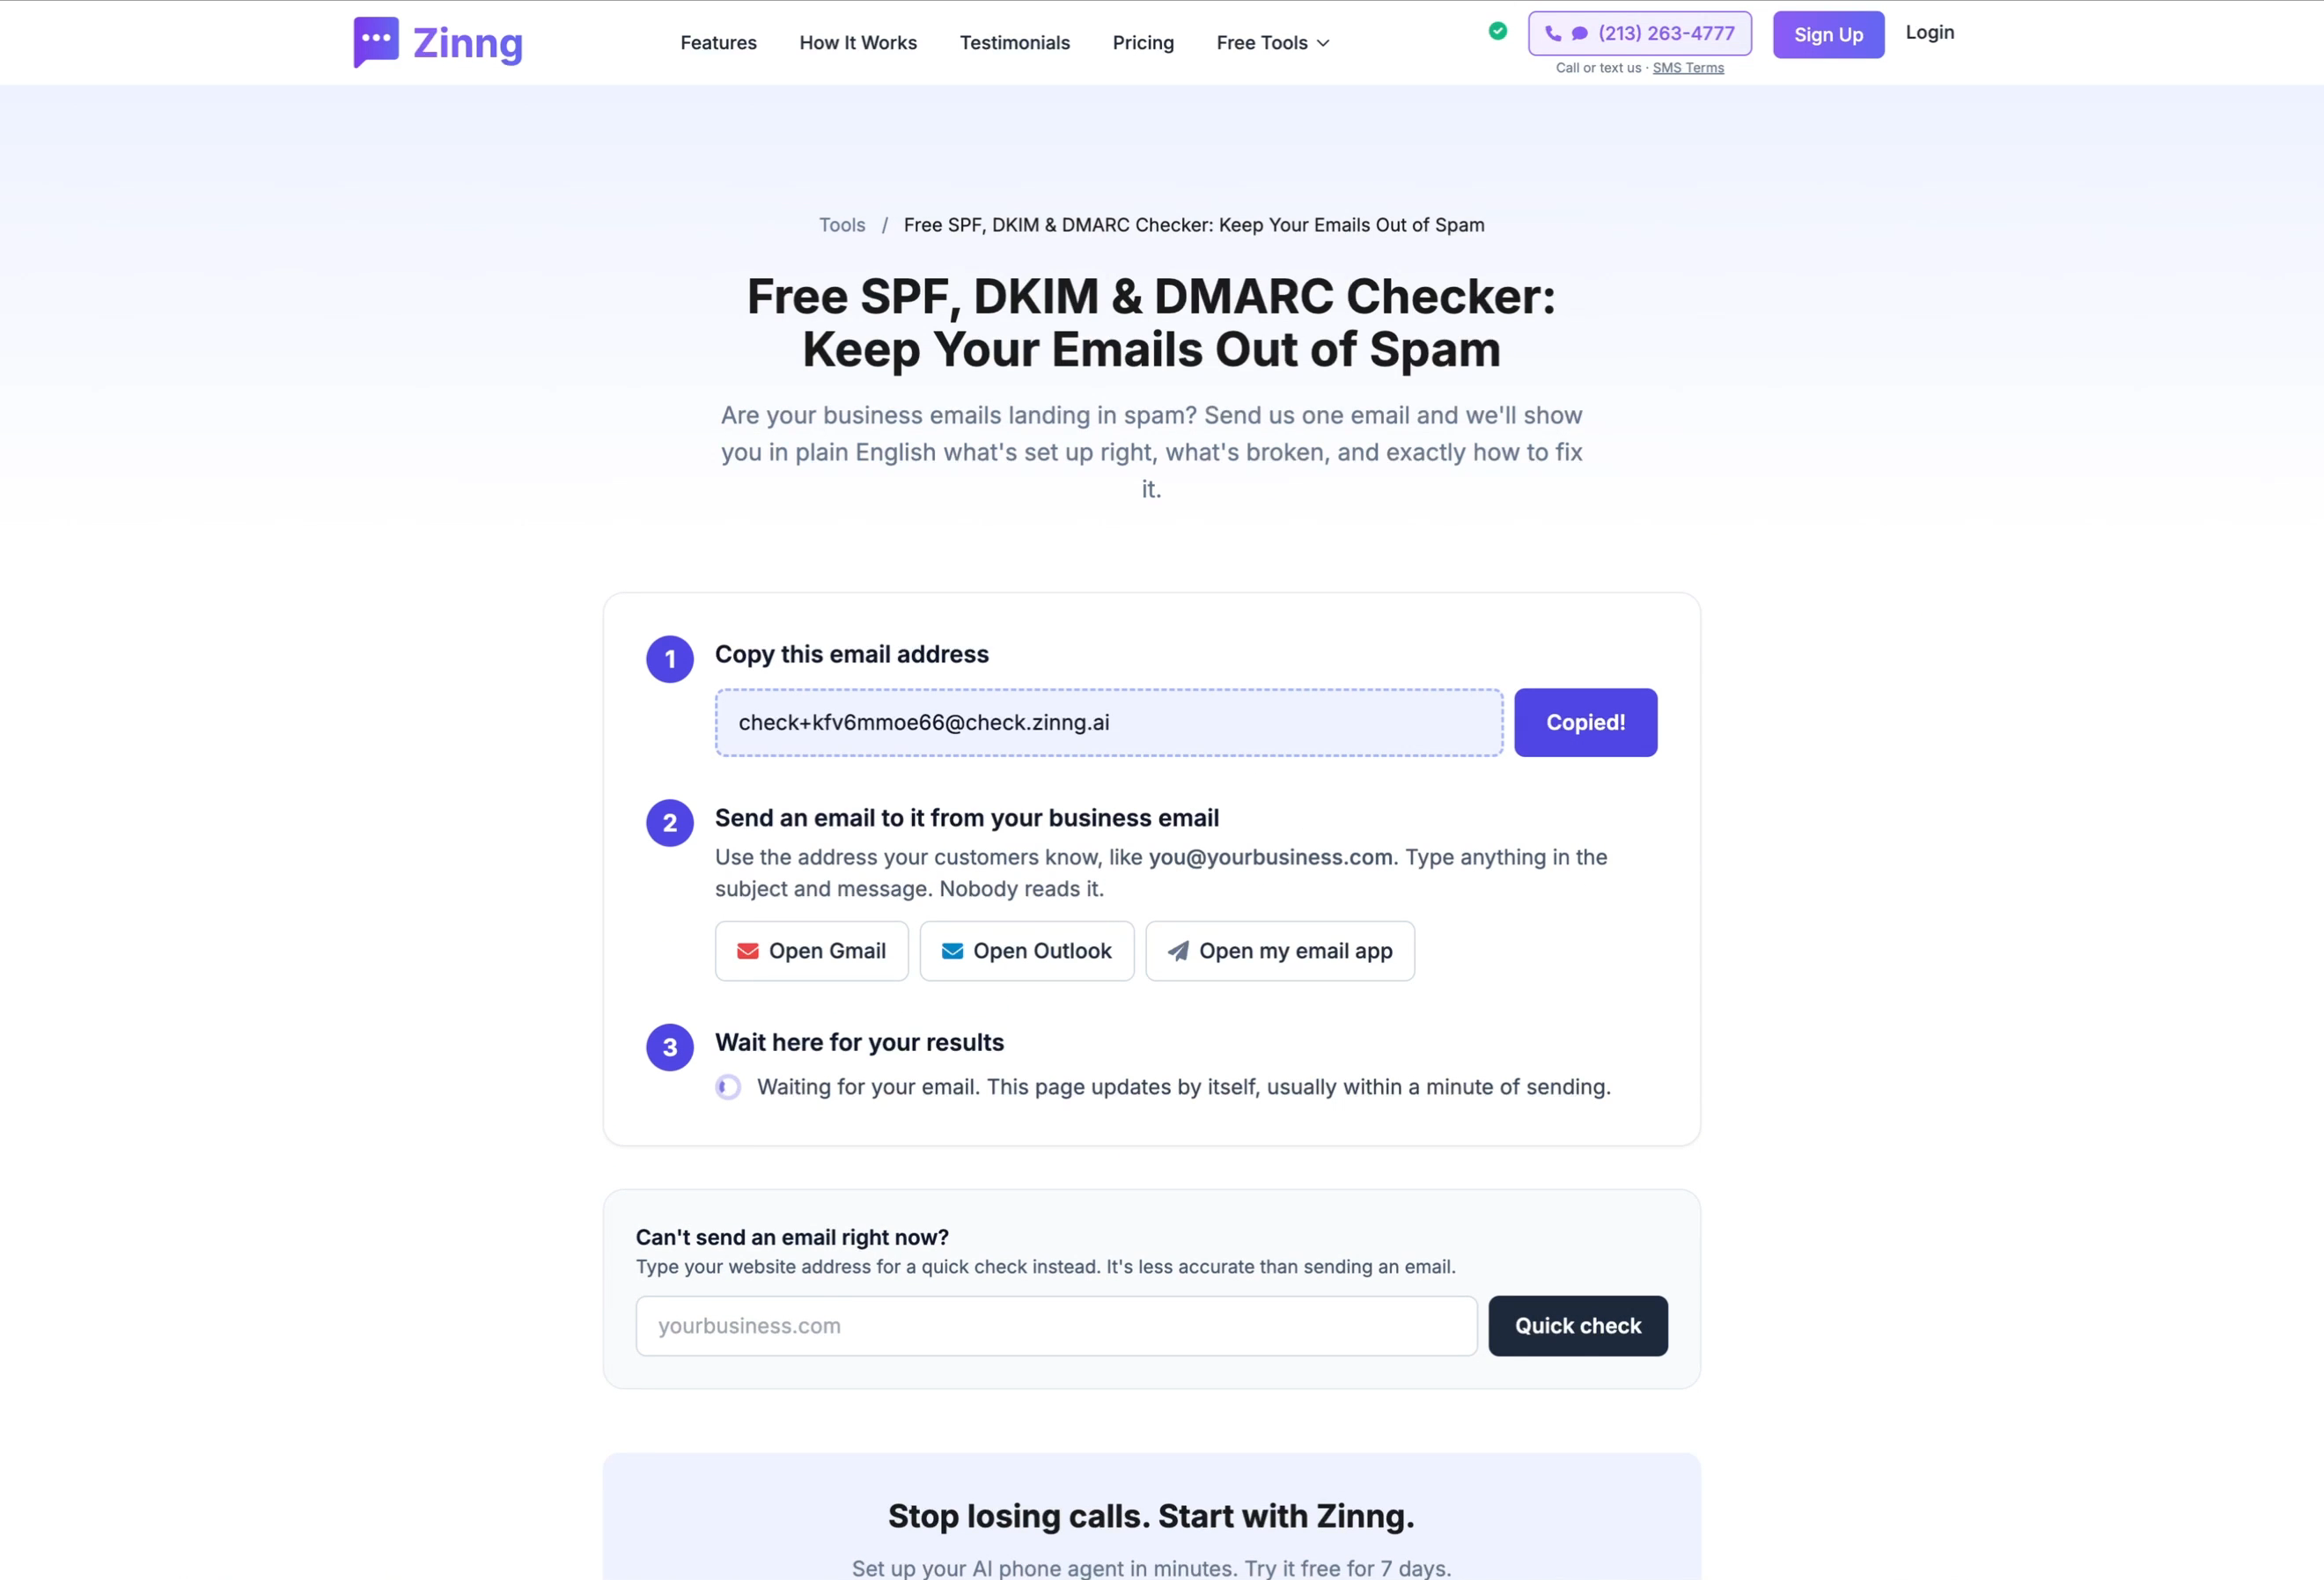
To test it, go to zinng.ai, open Free Tools and choose the SPF, DKIM & DMARC Checker.
Copy the test address the checker gives you. In Outlook, click New mail, paste it in the To field and click Send. You don't need a subject or message. Then go back to the checker and wait; the page updates by itself, usually within a minute.
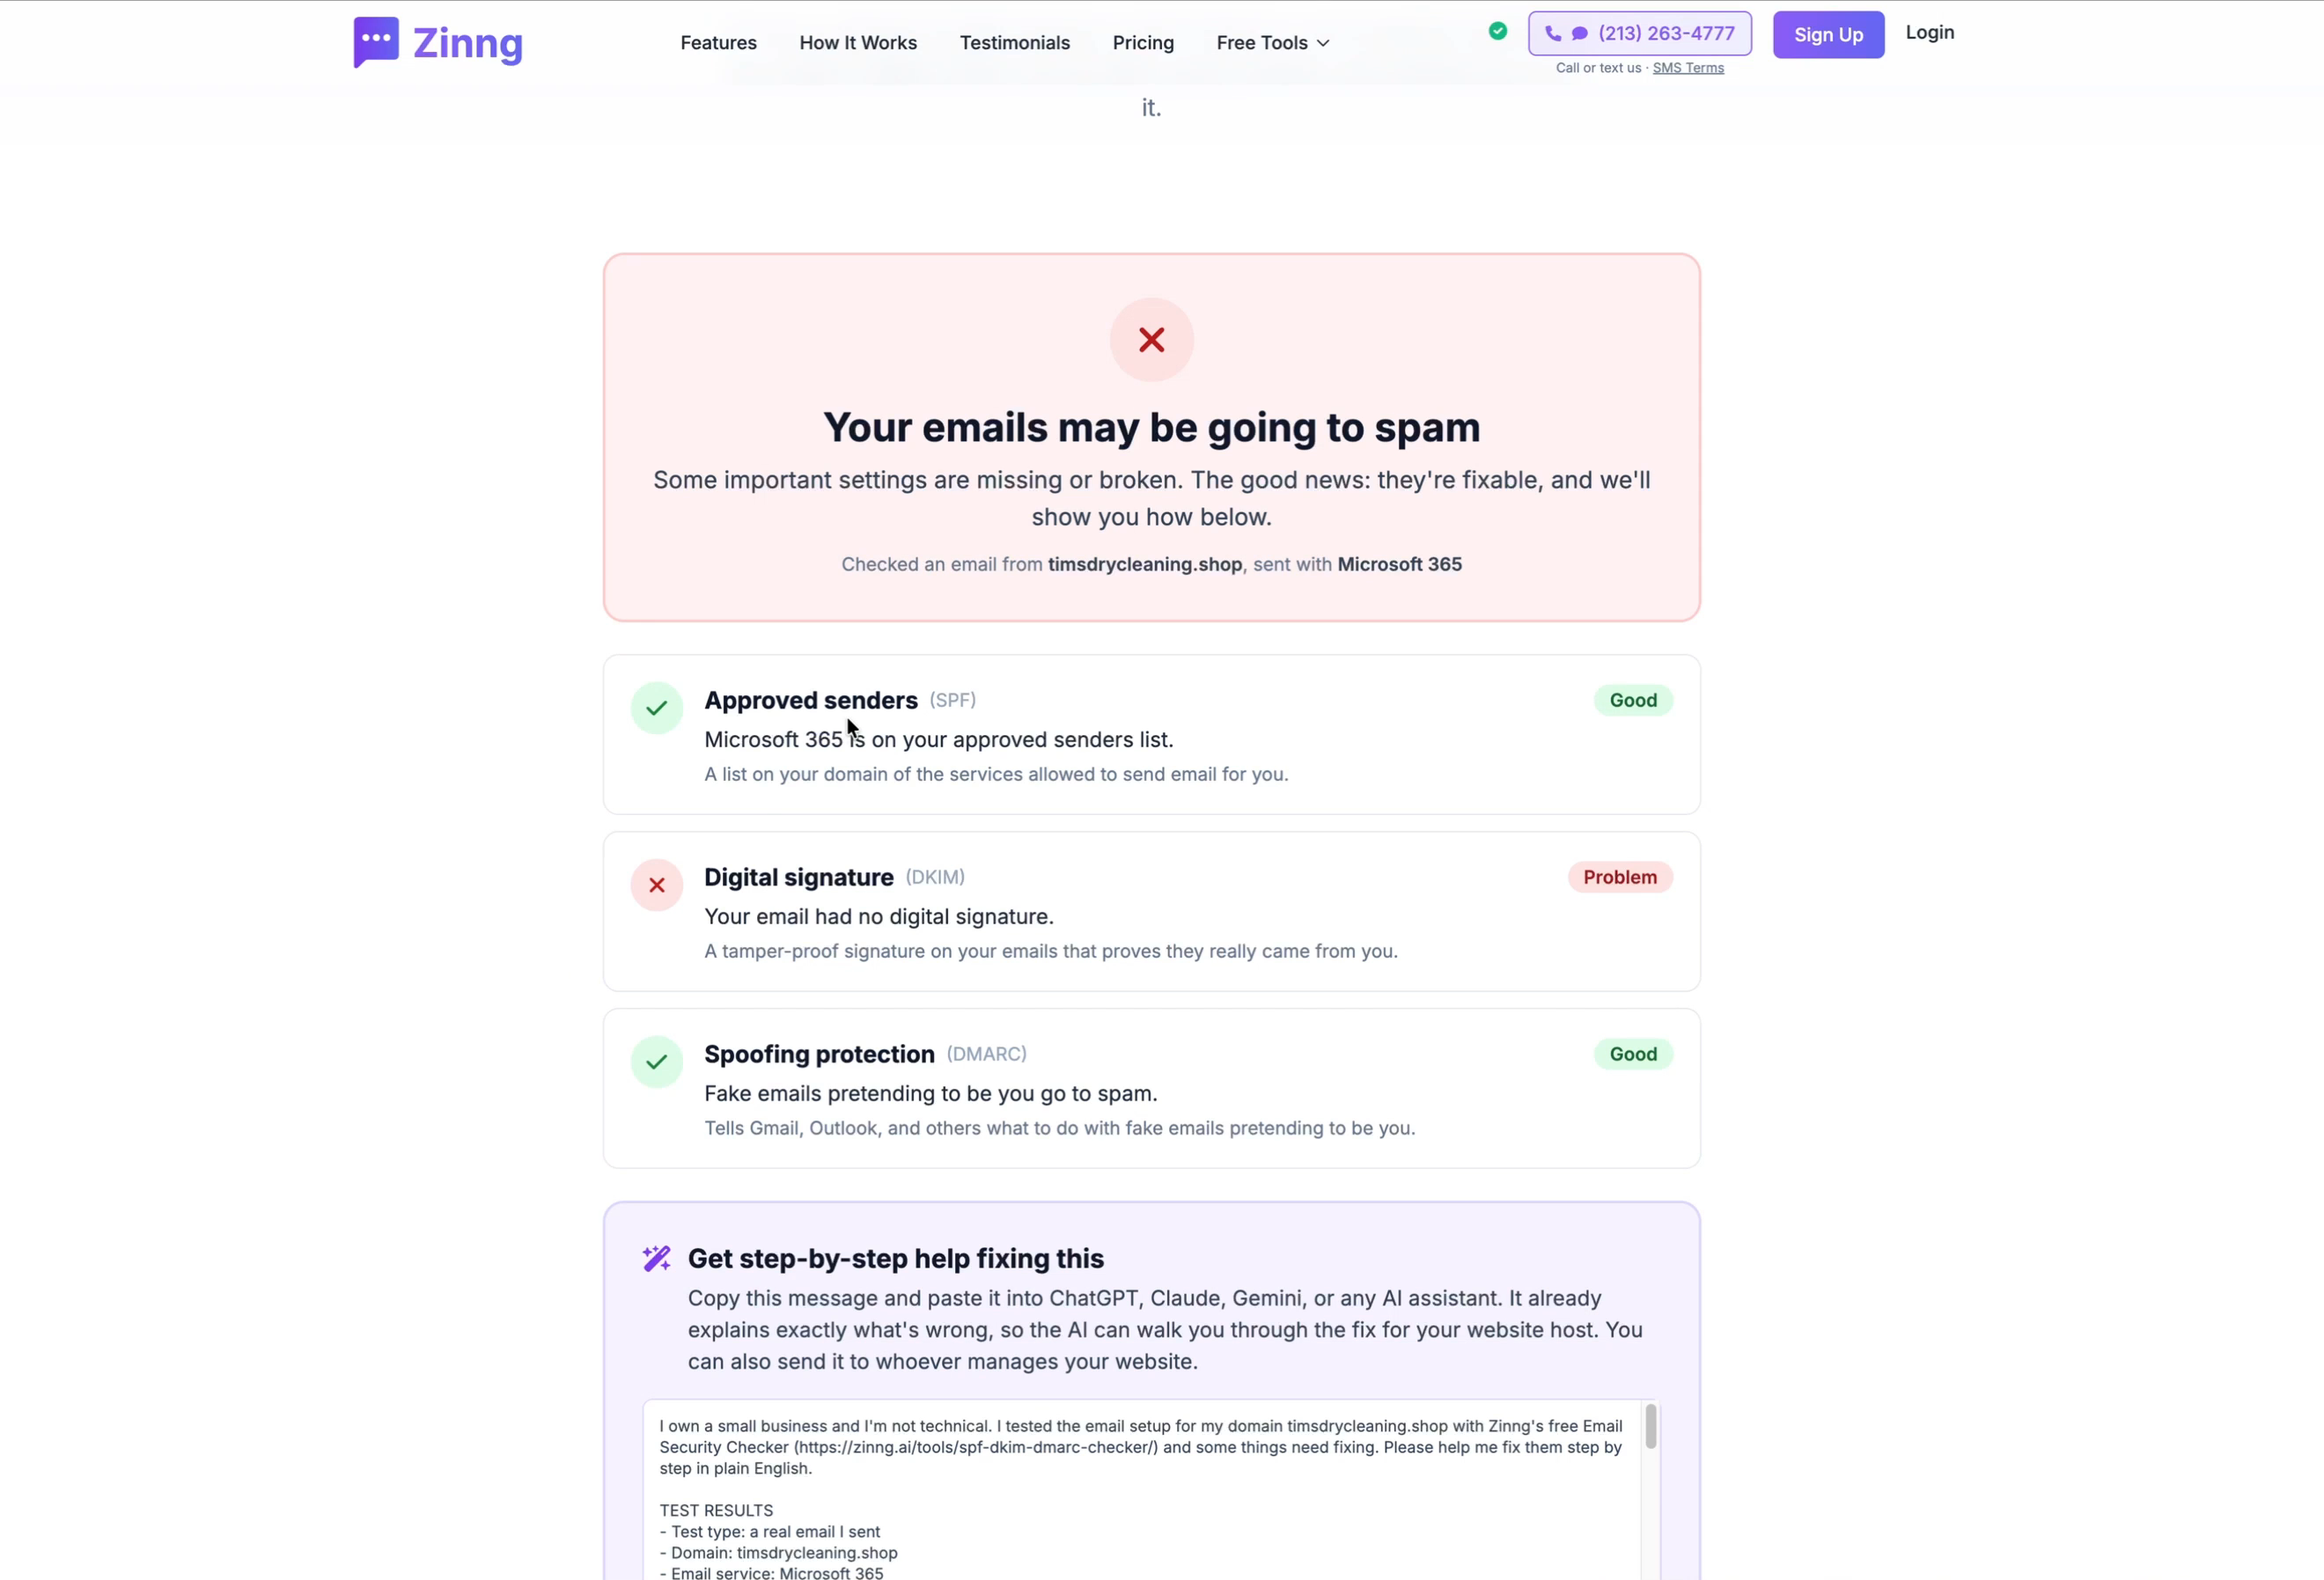
Tim's result: "Your emails may be going to spam." SPF and DMARC were Good, but DKIM showed a Problem: "Your email had no digital signature."
Step 5: Turn on DKIM in Microsoft Defender
The fix is in GoDaddy's help article "Enable and add DKIM to my domain for Microsoft 365." Tim found it by asking an AI assistant. That's a good way to troubleshoot this kind of thing; just tell the AI to search the web so it finds current instructions. The checker's results page also gives you a ready-made message to paste into ChatGPT, Claude or Gemini.
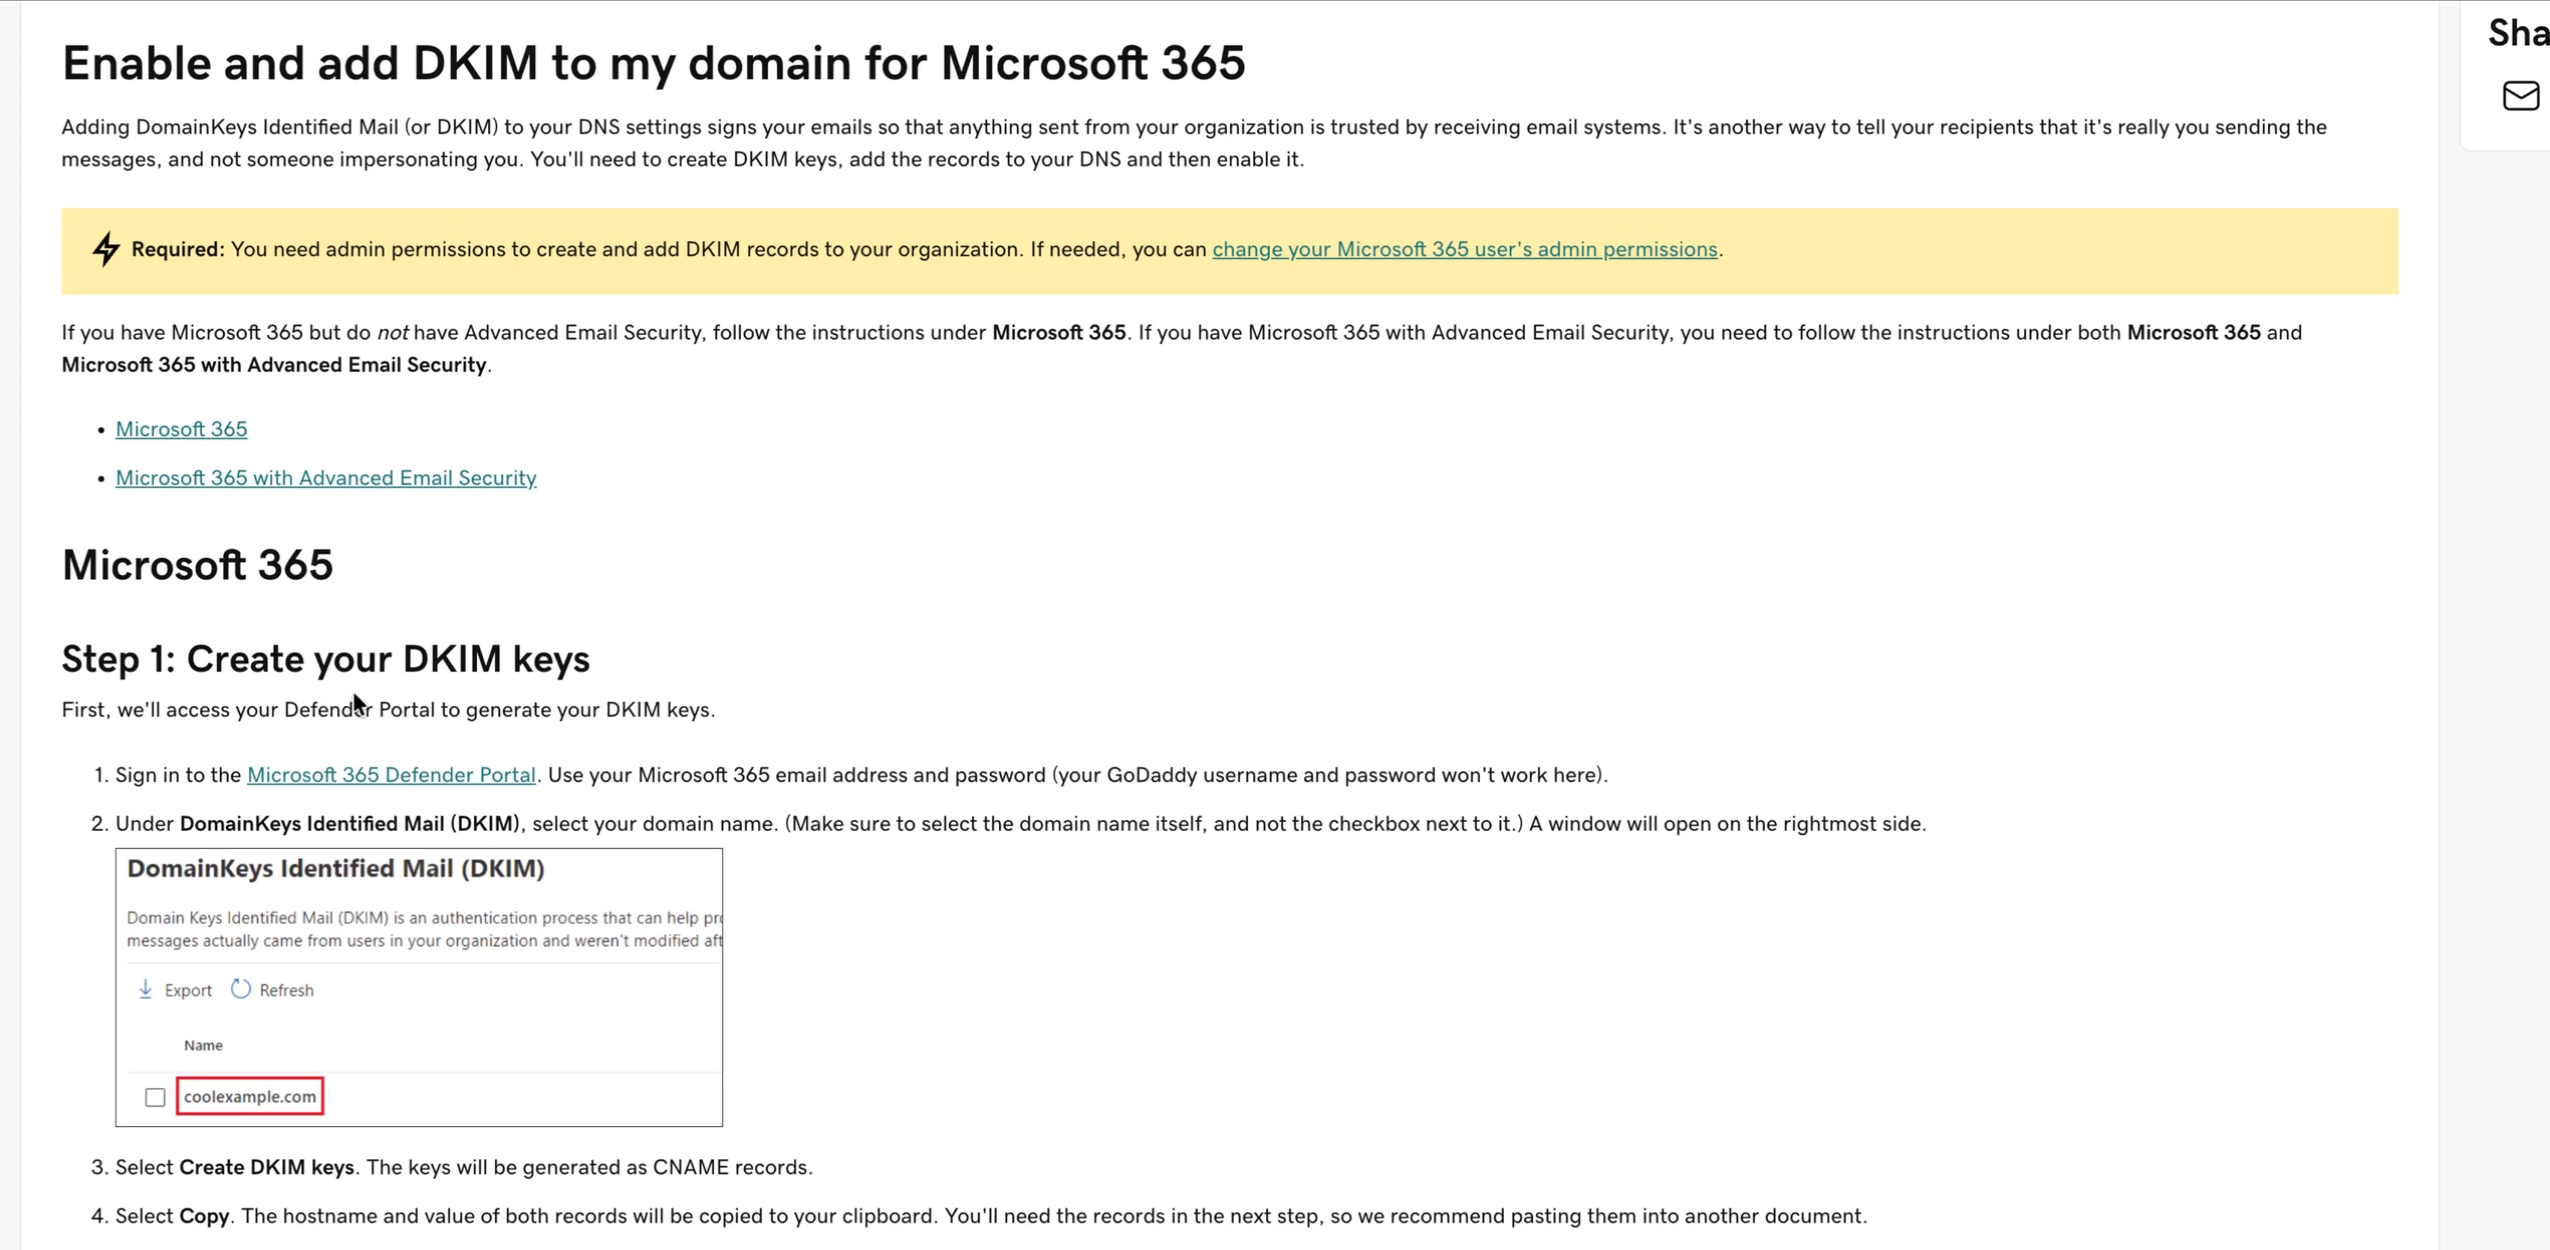
Click the Microsoft 365 Defender Portal link in the article (it goes to security.microsoft.com/dkimv2). You're already signed in to Microsoft, so it should open straight to the DKIM page. Sign in with your Microsoft 365 email address if asked; your GoDaddy login won't work there.
Check the table before you add anything. The article's next steps have you create DKIM keys and add records, but Tim's records already existed. His domain showed status CnameMissing with the toggle set to Disabled. The records were there; DKIM just wasn't turned on.

Click the toggle for your domain to switch it to Enabled. The status changed to Valid.

If the toggle won't turn on because the records really are missing (for example, if your domain's DNS is hosted somewhere other than GoDaddy, like Cloudflare), follow the rest of GoDaddy's article to create the keys and add the two CNAME records first.
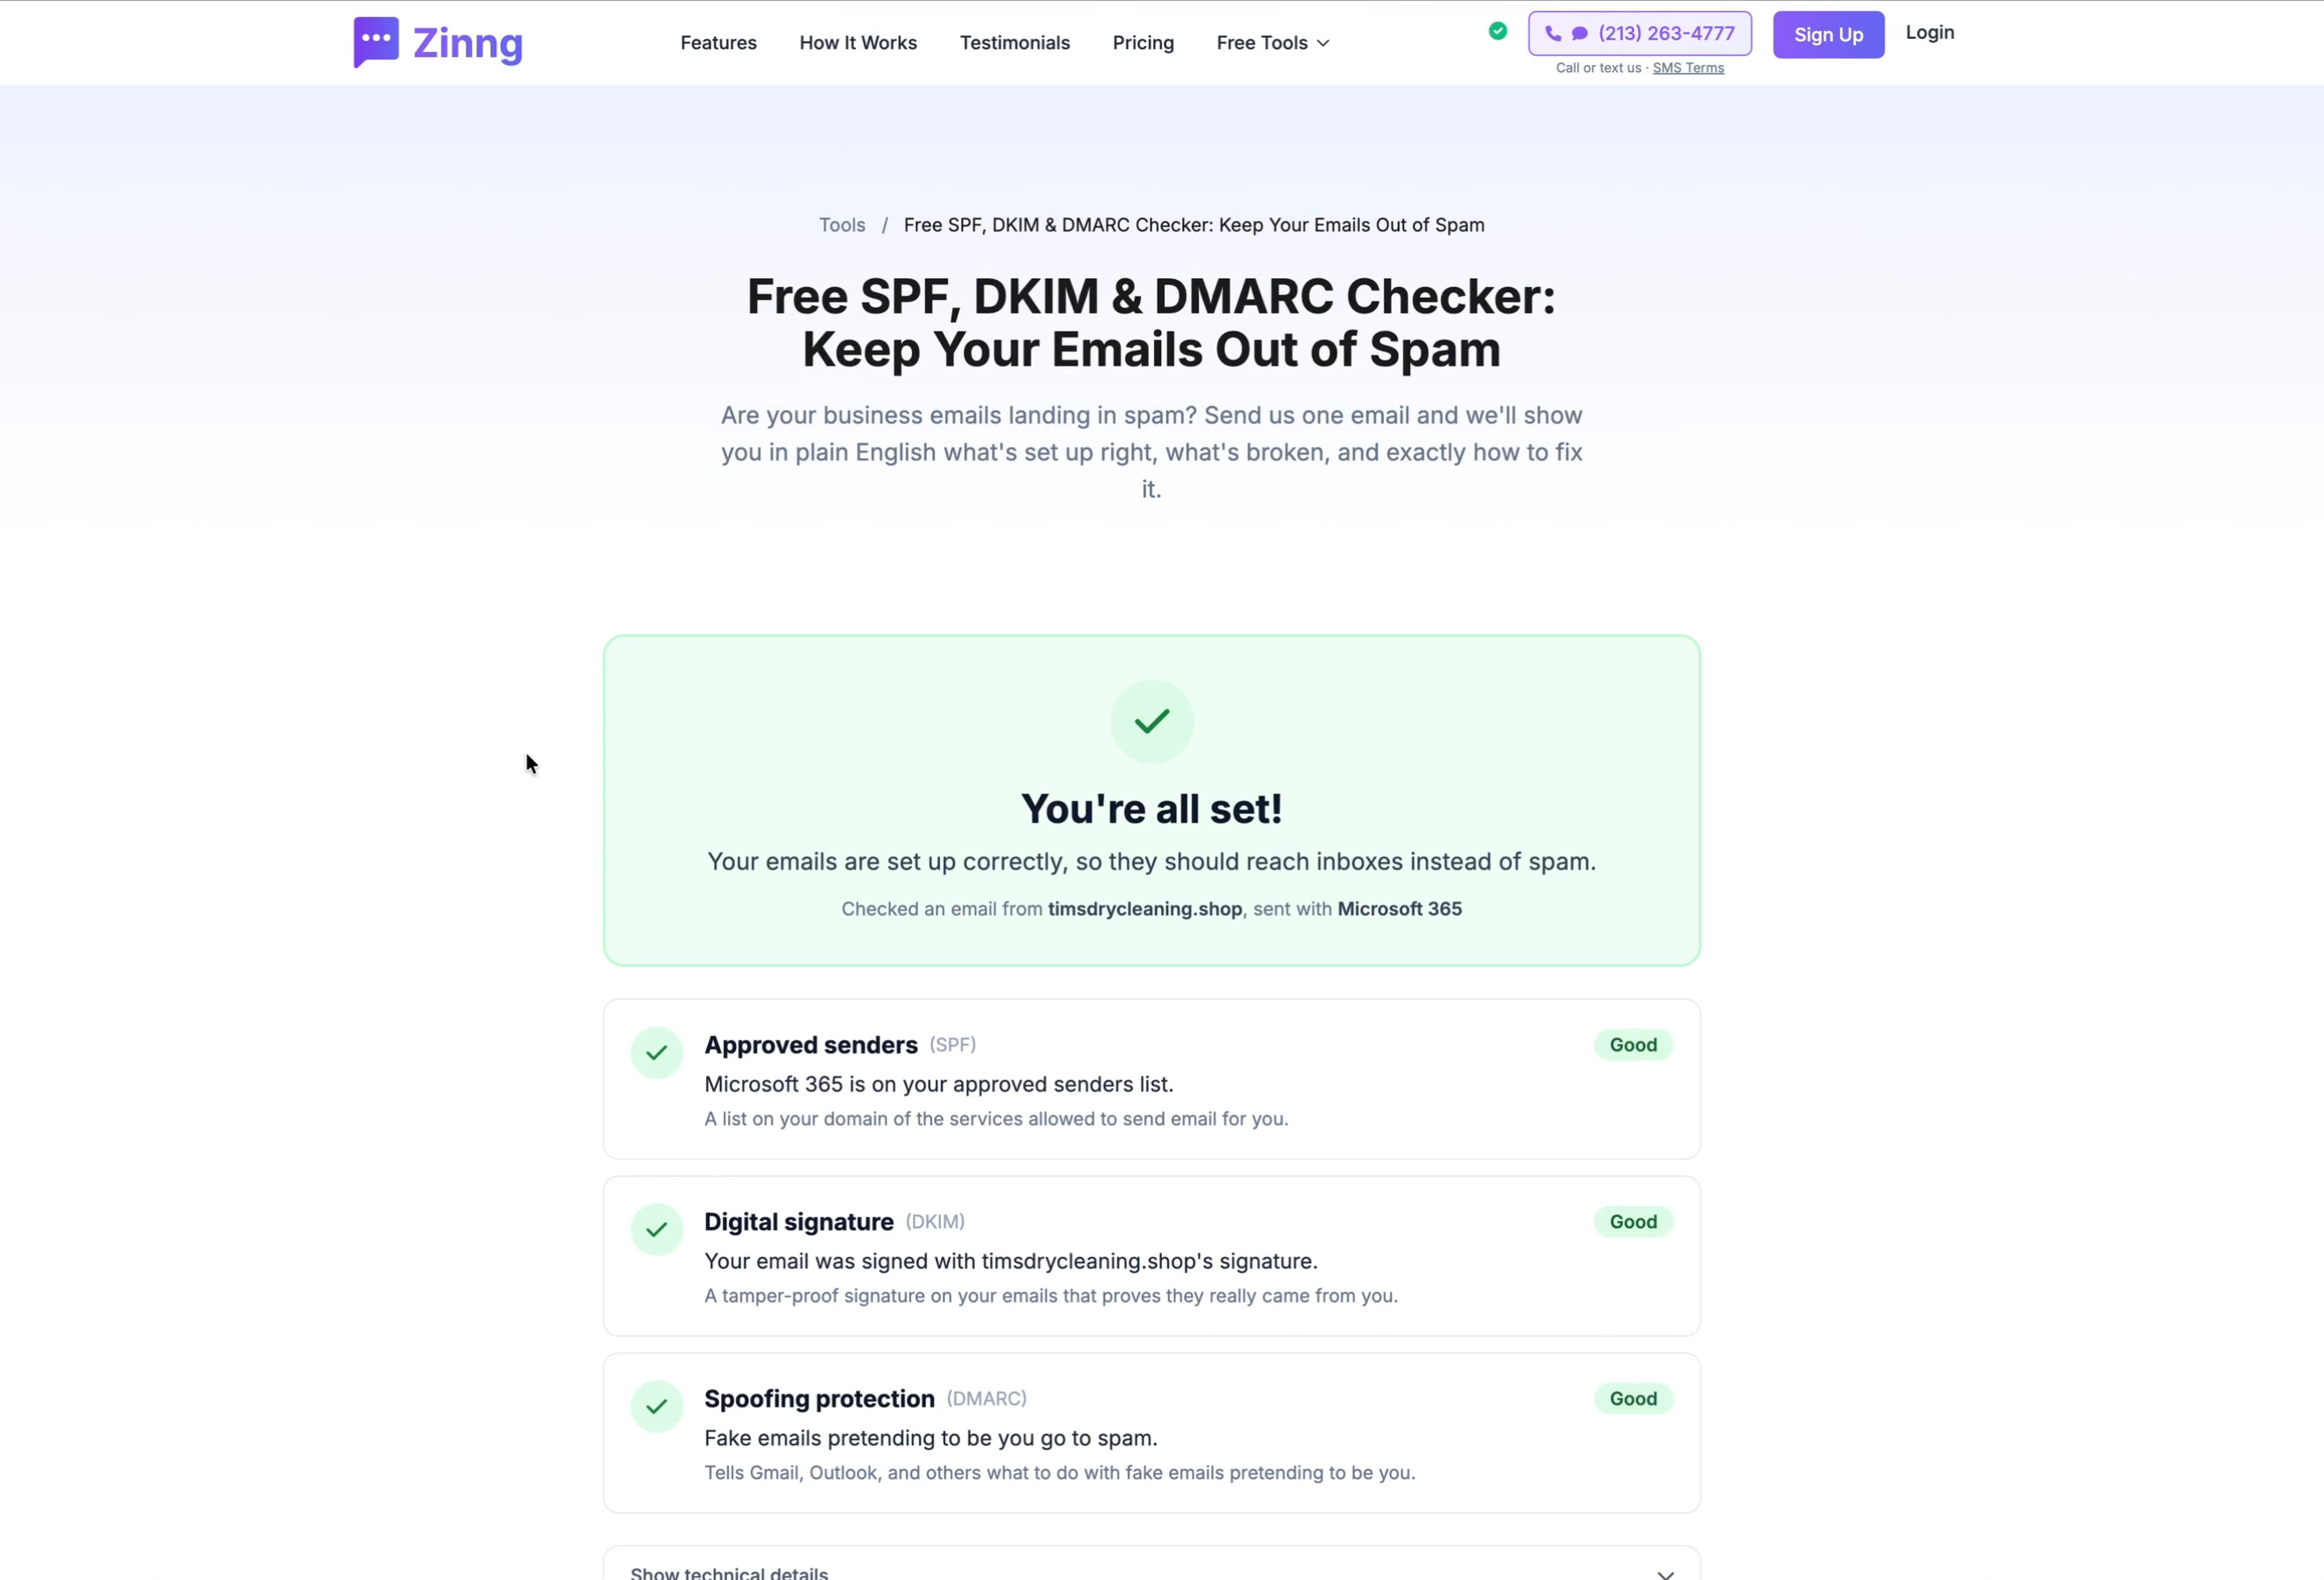
Then retest: refresh the checker to get a new test address, send it another email from Outlook and wait. Tim's result came back in seconds: "You're all set!" with SPF, DKIM and DMARC all Good.
That's it. Your business email is working and set up to stay out of spam. Next, you might want a business phone number to go with it.
Frequently asked questions
How do I set up email with GoDaddy?
Buy a Microsoft 365 email plan from GoDaddy, open Email in your GoDaddy account, type the address you want and click Create New Email. Accept the Microsoft Customer Agreement, wait for setup to finish, then click Sign In and open Outlook.
How much is GoDaddy Microsoft 365 Email Essentials?
When we checked in October 2026, GoDaddy listed it at $1.99 per mailbox a month for the first 1-year term, with promos as low as $0.99 for the first month. The regular price is $8.99 a month.
Does GoDaddy set up DKIM automatically for Microsoft 365?
Not fully. In our setup, the DKIM records were already in place but DKIM was switched off. Turning on the toggle for your domain in the Microsoft Defender portal (security.microsoft.com/dkimv2) fixed it.
Why am I getting "Sorry, we're having trouble signing you in"?
Usually because your browser is signed in to another Microsoft 365 account. Sign out of GoDaddy and back in, close the old Microsoft tabs, or use a private window, then click Sign In again.
How do I know if my business email is going to spam?
Send one email to the test address from our free SPF, DKIM and DMARC checker. It shows in plain English whether each of the three settings is working and how to fix any that aren't.
Ready to get started?
Set up your AI phone agent in minutes. Try it free for 7 days.
Try Zinng Free for 7 Days
About the Author
Timothy Bramlett
Co-Founder & CEO, Zinng
Timothy Bramlett is an American entrepreneur, software engineer, and product strategist. He is the founder of Zinng, an AI-powered phone agent platform that helps businesses never miss a customer call with intelligent call handling, real-time transcripts, and instant summaries.