
Post-call email and custom field settings
Choose what each post-call notification email contains, who receives it, and which custom fields your agent captures from every call.
After every call, your agent can email you what happened. The post-call settings decide what that email contains, who gets it, and which extra details the agent pulls out of the conversation, so you can act on a call without listening to it.
Where to find post-call settings
Section titled “Where to find post-call settings”- Open AI Phone Agents and select the settings icon on your agent.
- Stay on the Instructions tab and scroll down to Post-Call Notification Email Settings.
The agent settings page is explained in Your agent’s page. Settings here belong to the agent you opened, so each agent has its own.
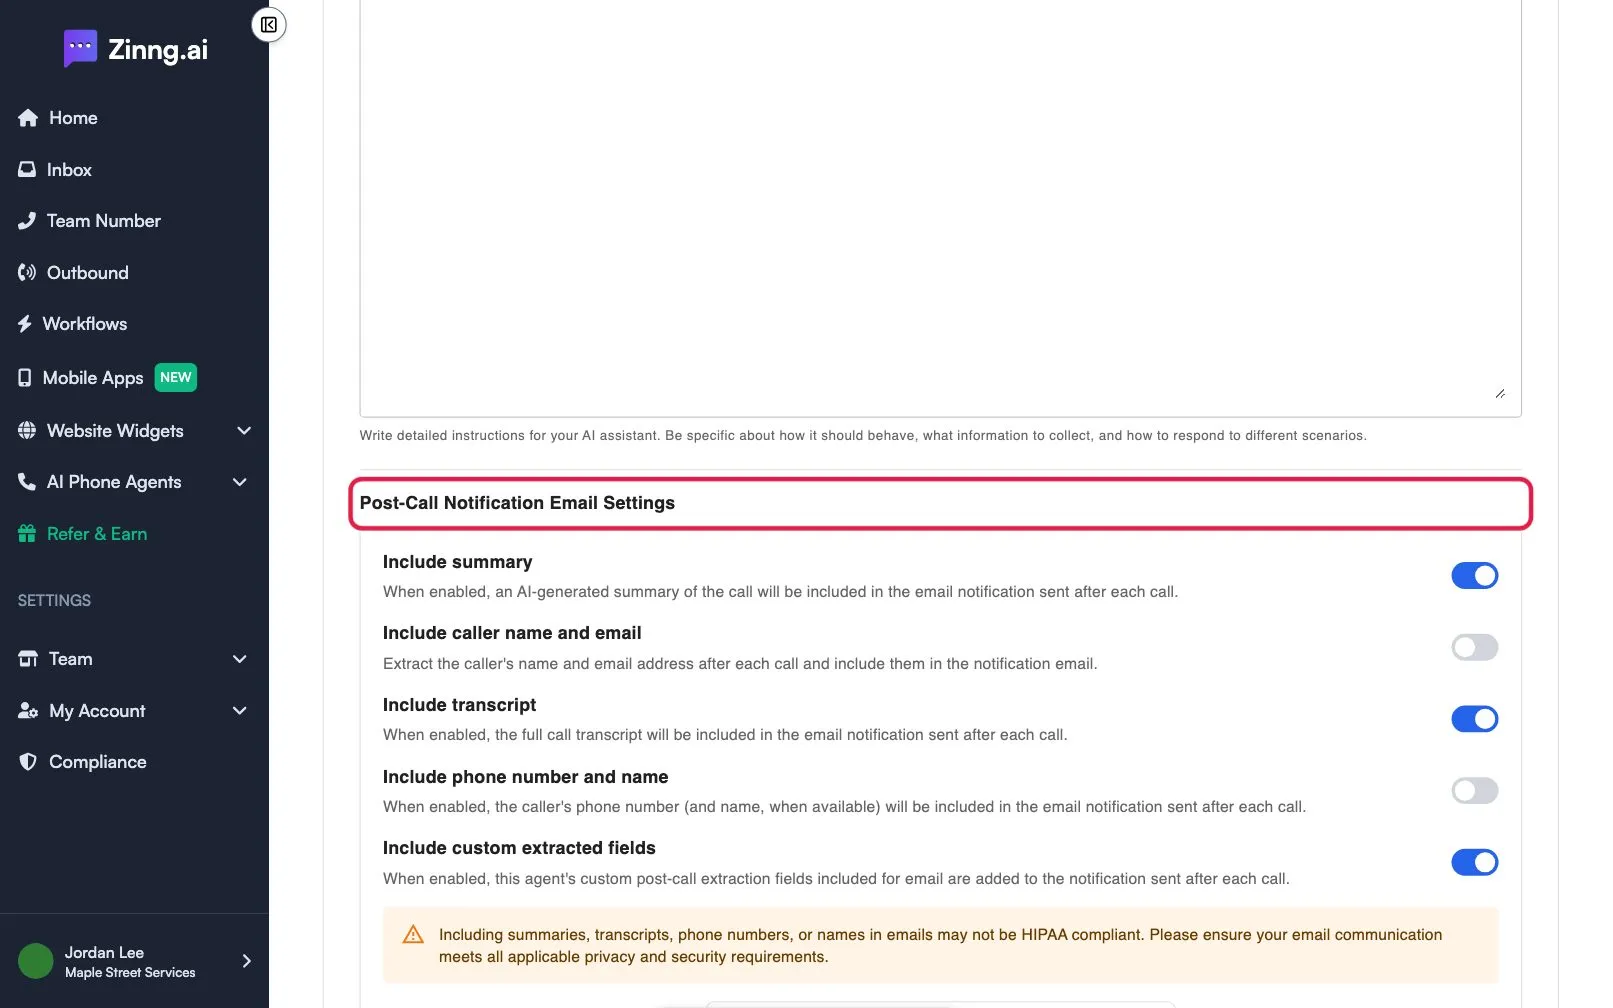
Post-call email settings
Section titled “Post-call email settings”Each setting is a toggle. Turn it on to add that item to the email.
| Setting | What it does | Plan if limited |
|---|---|---|
| Include summary | Adds an AI-generated summary of the call. | |
| Include caller name and email | Extracts the caller’s name and email address after each call and adds them to the email. | |
| Include transcript | Adds the full call transcript. | |
| Include phone number and name | Adds the caller’s phone number, and their name when it is available. | |
| Include custom extracted fields | Adds the custom fields you choose for email (see below). |
When a summary, transcript, phone number or name is turned on, a warning reminds you that including them in emails may not be HIPAA compliant, and that you should make sure your email meets your privacy and security requirements.
Who receives the email
Section titled “Who receives the email”Additional email recipients lists everyone who can get post-call emails. The account owner always receives them and cannot be unchecked. Tick any other recipient to add them. A recipient shown as Awaiting confirmation must confirm their address first; until then they cannot be selected. Select Add or manage recipients in Team Users to add people.
Custom extraction fields
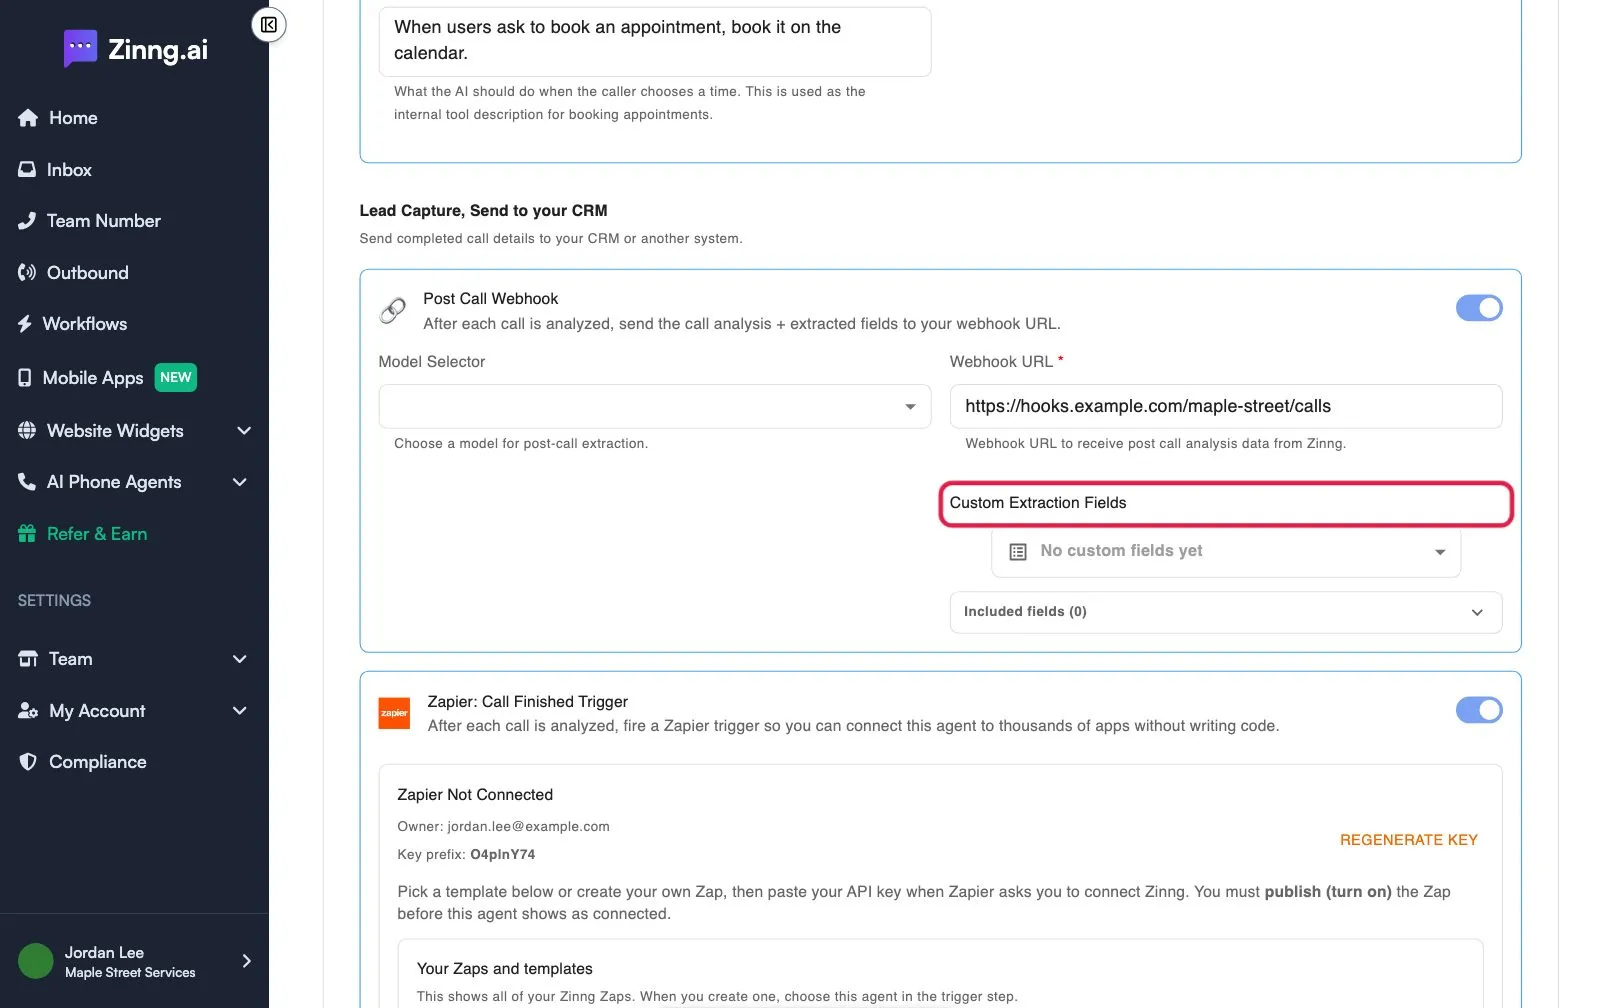
Section titled “Custom extraction fields”A custom field is a question you want answered on every call, such as the service a caller asked about. Turn on Include custom extracted fields, then use the field list to choose which fields go in the email. Select + Add custom field to create one.
| Field setting | What it does |
|---|---|
| Label | The name you see, for example Requested Service. |
| Name | The key for the field, in lowercase letters, digits and underscores, starting with a letter. Some names are reserved: call_summary, call_successful, user_sentiment, caller_name, caller_email and is_emergency. |
| Type | Text, Selector, Boolean or Number. |
| Description | Tells the agent what to capture. Required. |
| Choices | Shown for Selector. At least one choice, each different. |
| Format Example (optional) | Shown for Text. Shows what a good answer looks like. |
One field can be used in more than one place. The same list also feeds the Post Call Webhook and Zapier add-ons, which are Pro features described in Agent add-ons. Editing a field changes it everywhere it is used. Manage all fields opens every field in one place.
Common tasks
Section titled “Common tasks”Change what the email shows
Section titled “Change what the email shows”- Open your agent’s settings and scroll to Post-Call Notification Email Settings.
- Turn each toggle on or off.
- Select Save.
Send the email to more people
Section titled “Send the email to more people”- Under Additional email recipients, tick the people who should receive it.
- Select Save.
Capture a custom field
Section titled “Capture a custom field”Follow Send post-call emails and capture custom call fields.