
Form settings: fields, alerts and confirmation
Learn every form setting: fields, success message, redirect, email and SMS alerts, consent text and the confirmation text sent to visitors.
Forms let visitors send you their details from your website. The form settings control which questions you ask, what visitors see afterward, and who on your team is alerted. Every plan can use forms.
How to open it
Section titled “How to open it”In the left menu, open Website Widgets, then select Form (open your Forms page). The Forms page lists your forms. Select Create New Form to add one, or Manage on a form to change it.
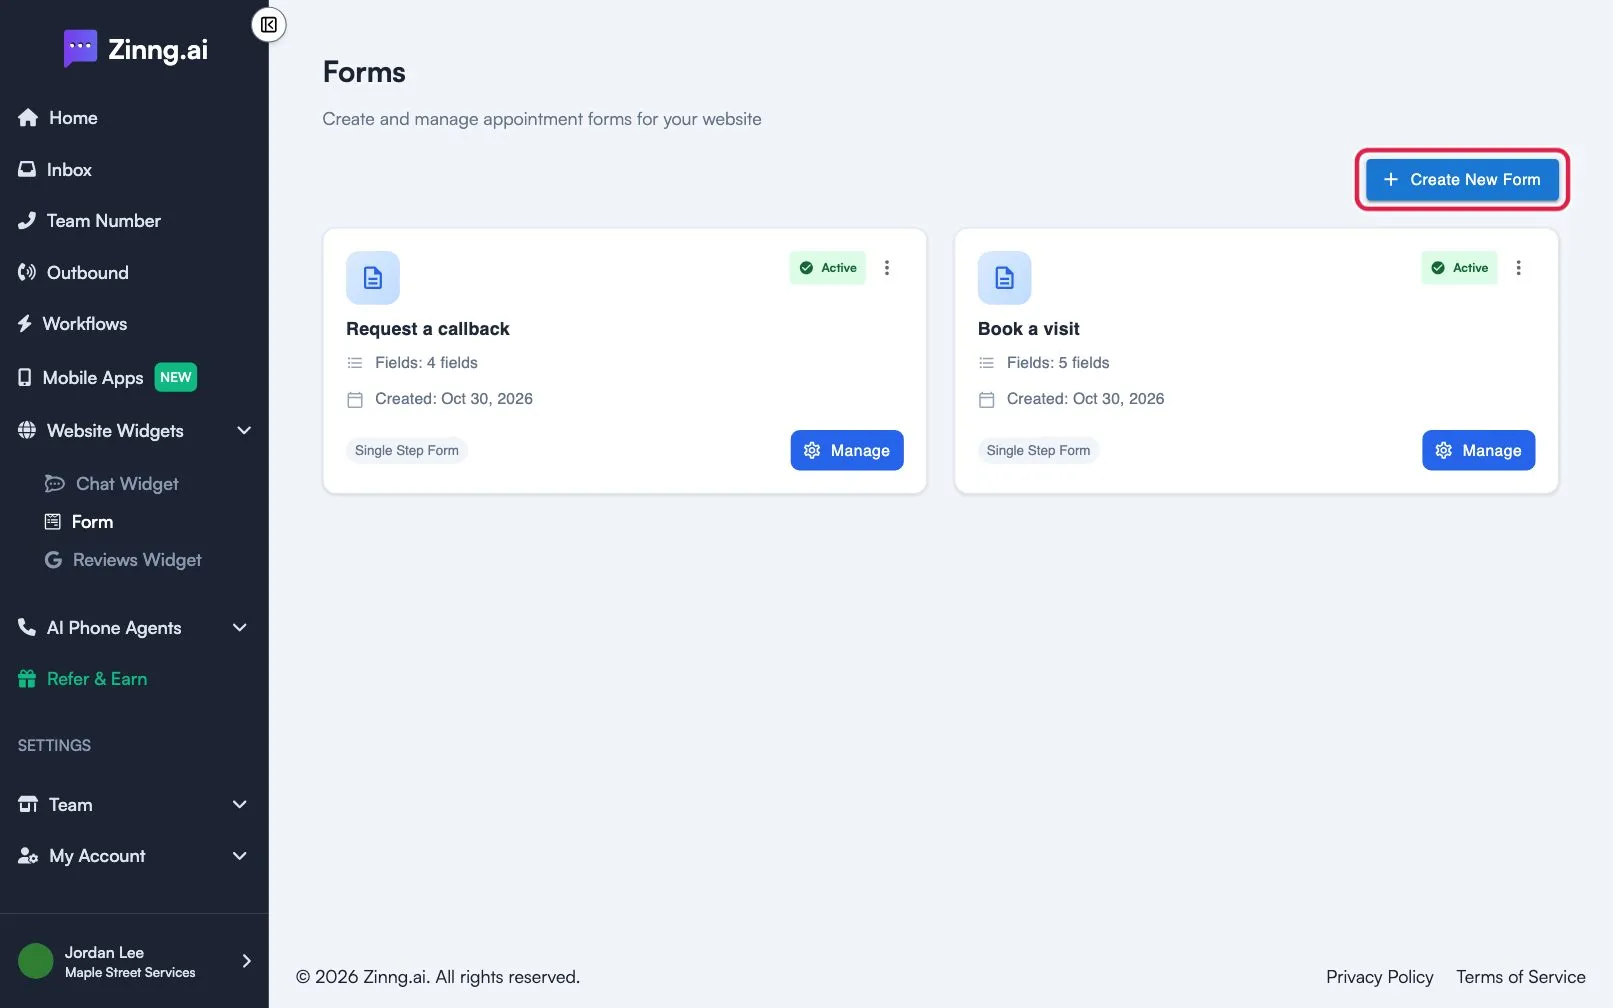
Each form card shows its status, number of fields and creation date. The menu on a card lets you delete the form. Deleting is permanent.
On the Free plan you can create 1 form. Paid plans have no form limit.
Managing a form opens Form Widget with two tabs: Installation (the embed code) and Builder (everything below).
Builder settings
Section titled “Builder settings”| Setting | What it does | Plan if limited |
|---|---|---|
| Form title | The heading at the top of your public form and in submission notifications. | |
| + Add field | Adds a question. Drag a field by its handle to reorder it, or use the delete icon to remove it. | |
| Field label | The question text. | |
| Field type | Text, Textarea, Number, Email, Date, Time, Checkbox, Select or Phone. | |
| Placeholder | Hint text shown before the visitor types. | |
| Required field | Visitors must fill it in to submit. | |
| Dropdown options | The choices for a Select field. | |
| Success message | Shown right after a submission. Basic HTML works. | |
| Post-submission heading | A heading above any follow-up fields. Leave blank if unused. | |
| Redirect URL | Sends visitors to another page after they submit. | |
| Email recipients | Each address gets an email with the submission details. | |
| SMS alerts | Your team gets a text with a link to the inbox conversation. | Essential |
| Consent checkbox text | Text next to the required consent checkbox. Every form has one. | |
| Confirmation SMS message | A text sent to the visitor after they submit. | Essential |
Select Show preview to see the form as visitors will, and Save form to keep your changes.
Common tasks
Section titled “Common tasks”Add a question
Section titled “Add a question”On the Builder tab, select + Add field, fill in Field label, pick a Field type, and select Save form.
Get an email for each submission
Section titled “Get an email for each submission”Under Notifications, enter an address under Email recipients, press Enter, then select Save form.
Send visitors to a thank-you page
Section titled “Send visitors to a thank-you page”Enter the page address under Redirect URL and select Save form.