Chat widget settings: branding, hours and install
Find every chat widget setting in one place: install code, branding, invitation, visitor details, office hours, styling and the share page.
The chat widget settings page is where you create your website chat, copy the code that puts it on your site, and control how it looks and behaves. Every plan can use the chat widget.
How to open it
Section titled “How to open it”In the left menu, open Website Widgets, then select Chat Widget (open the Chat Widget page). If you have no widget yet, select Create a New Chat Widget. The page has four tabs: Installation, Settings, Office Hours and Share Page.
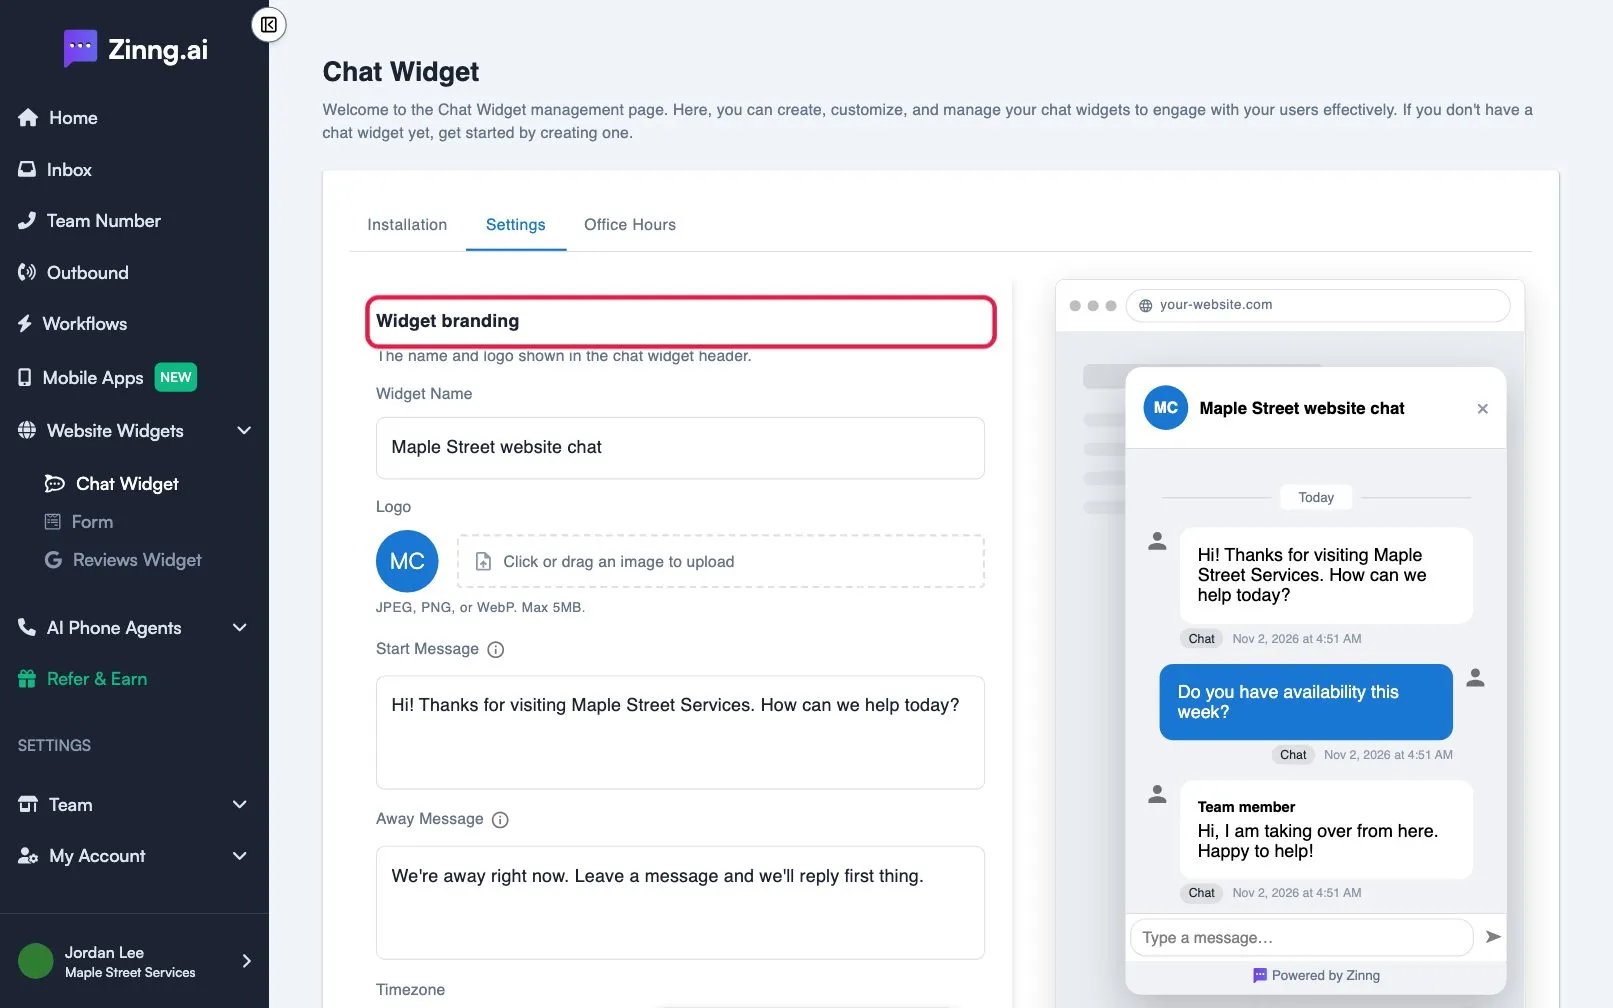
A live preview next to the Settings tab shows your changes with sample messages. Nothing in the preview is saved until you save your settings.
Installation tab
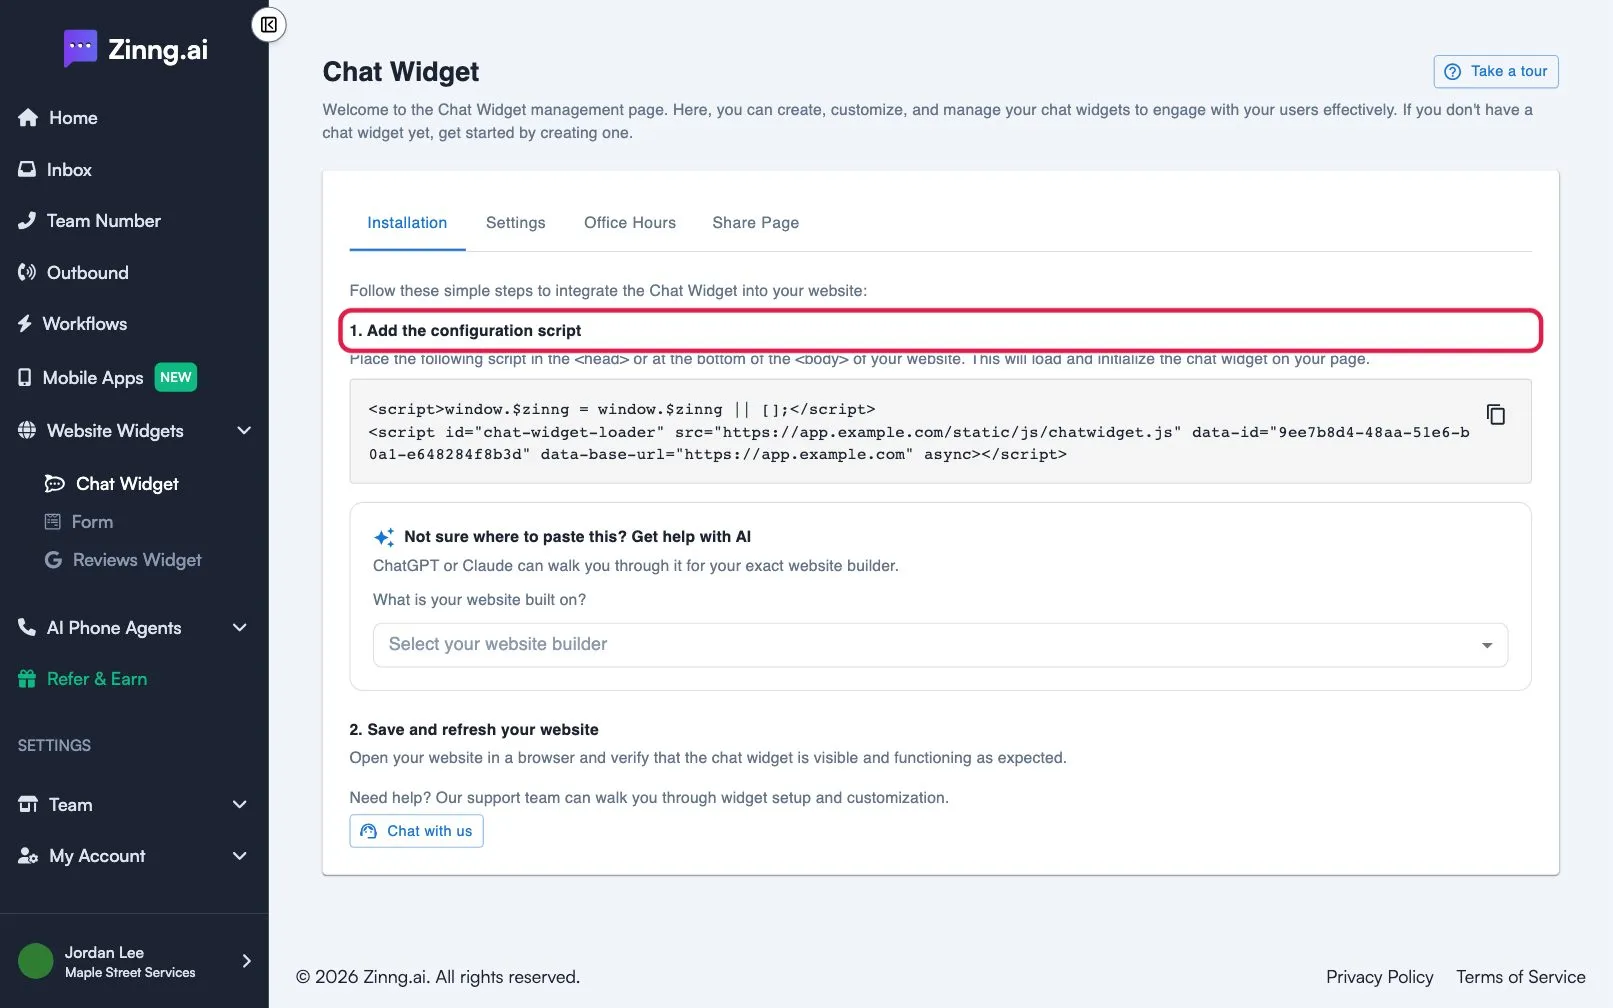
Section titled “Installation tab”Shows the embed code. Copy it with the copy button and add it to your website. The steps are in add the chat widget to your website.
Settings tab
Section titled “Settings tab”| Setting | What it does | Plan if limited |
|---|---|---|
| Widget Name | The name shown in the chat header. | |
| Logo | Your logo in the chat header. JPEG, PNG or WebP, up to 5MB. | |
| Start Message | The first message visitors see when the chat opens. | |
| Away Message | The message shown outside your office hours. | |
| Timezone | The timezone your office hours use. | |
| Chat invitation message | A short note shown above the chat button on every page load. Visitors can dismiss it, and it returns after a refresh. Leave it blank to show none. | |
| Launcher image | Your own image for the button that opens the chat. JPEG, PNG or WebP, up to 5MB. Without one, the default chat bubble is used. | |
| Ask for Email | After the first message, asks the visitor for their email. They can skip. | |
| Email Unread Replies | Emails the visitor when a reply goes unread, so they can return to the chat. Needs Ask for Email. | |
| Ask for Phone | After the first message, asks the visitor for their phone number. They can skip. | |
| Force Identification | Removes the skip option, so visitors must give an email or phone number before chatting. Needs Ask for Email or Ask for Phone. | |
| Widget CSS, Launcher CSS, Launcher icon (raw SVG) | Advanced styling for people comfortable with code. Reset styling to defaults undoes your changes. | |
| Show attribution | Shows a small “Powered by” link below the chat. Turn it off to remove it. | Essential |
The visitor toggles save as soon as you switch them. Other changes save when you select the save button that appears at the bottom of the page.
Office Hours tab
Section titled “Office Hours tab”Set the days and times your team is available. For each day, add a time slot with Start Time and End Time, then select Save Changes. Outside these hours visitors see your Away Message.
Share Page tab
Section titled “Share Page tab”Creates a full-page version of your chat with its own link, so people can chat without visiting your website. Select Create share page, then use Copy link or Open page. You can change the Browser tab title, Subtitle, colors and page CSS. Turn the page off any time; the link then shows a not-found page.
Common tasks
Section titled “Common tasks”Change what visitors see first
Section titled “Change what visitors see first”Open the Settings tab, edit Start Message and Away Message, then save.
Collect a visitor’s contact details
Section titled “Collect a visitor’s contact details”Open the Settings tab, find Visitor identification and turn on Ask for Email or Ask for Phone.
Remove the “Powered by” link
Section titled “Remove the “Powered by” link”On the Settings tab, under Advanced appearance, turn off Show attribution. If the switch is greyed out, your plan does not include this.